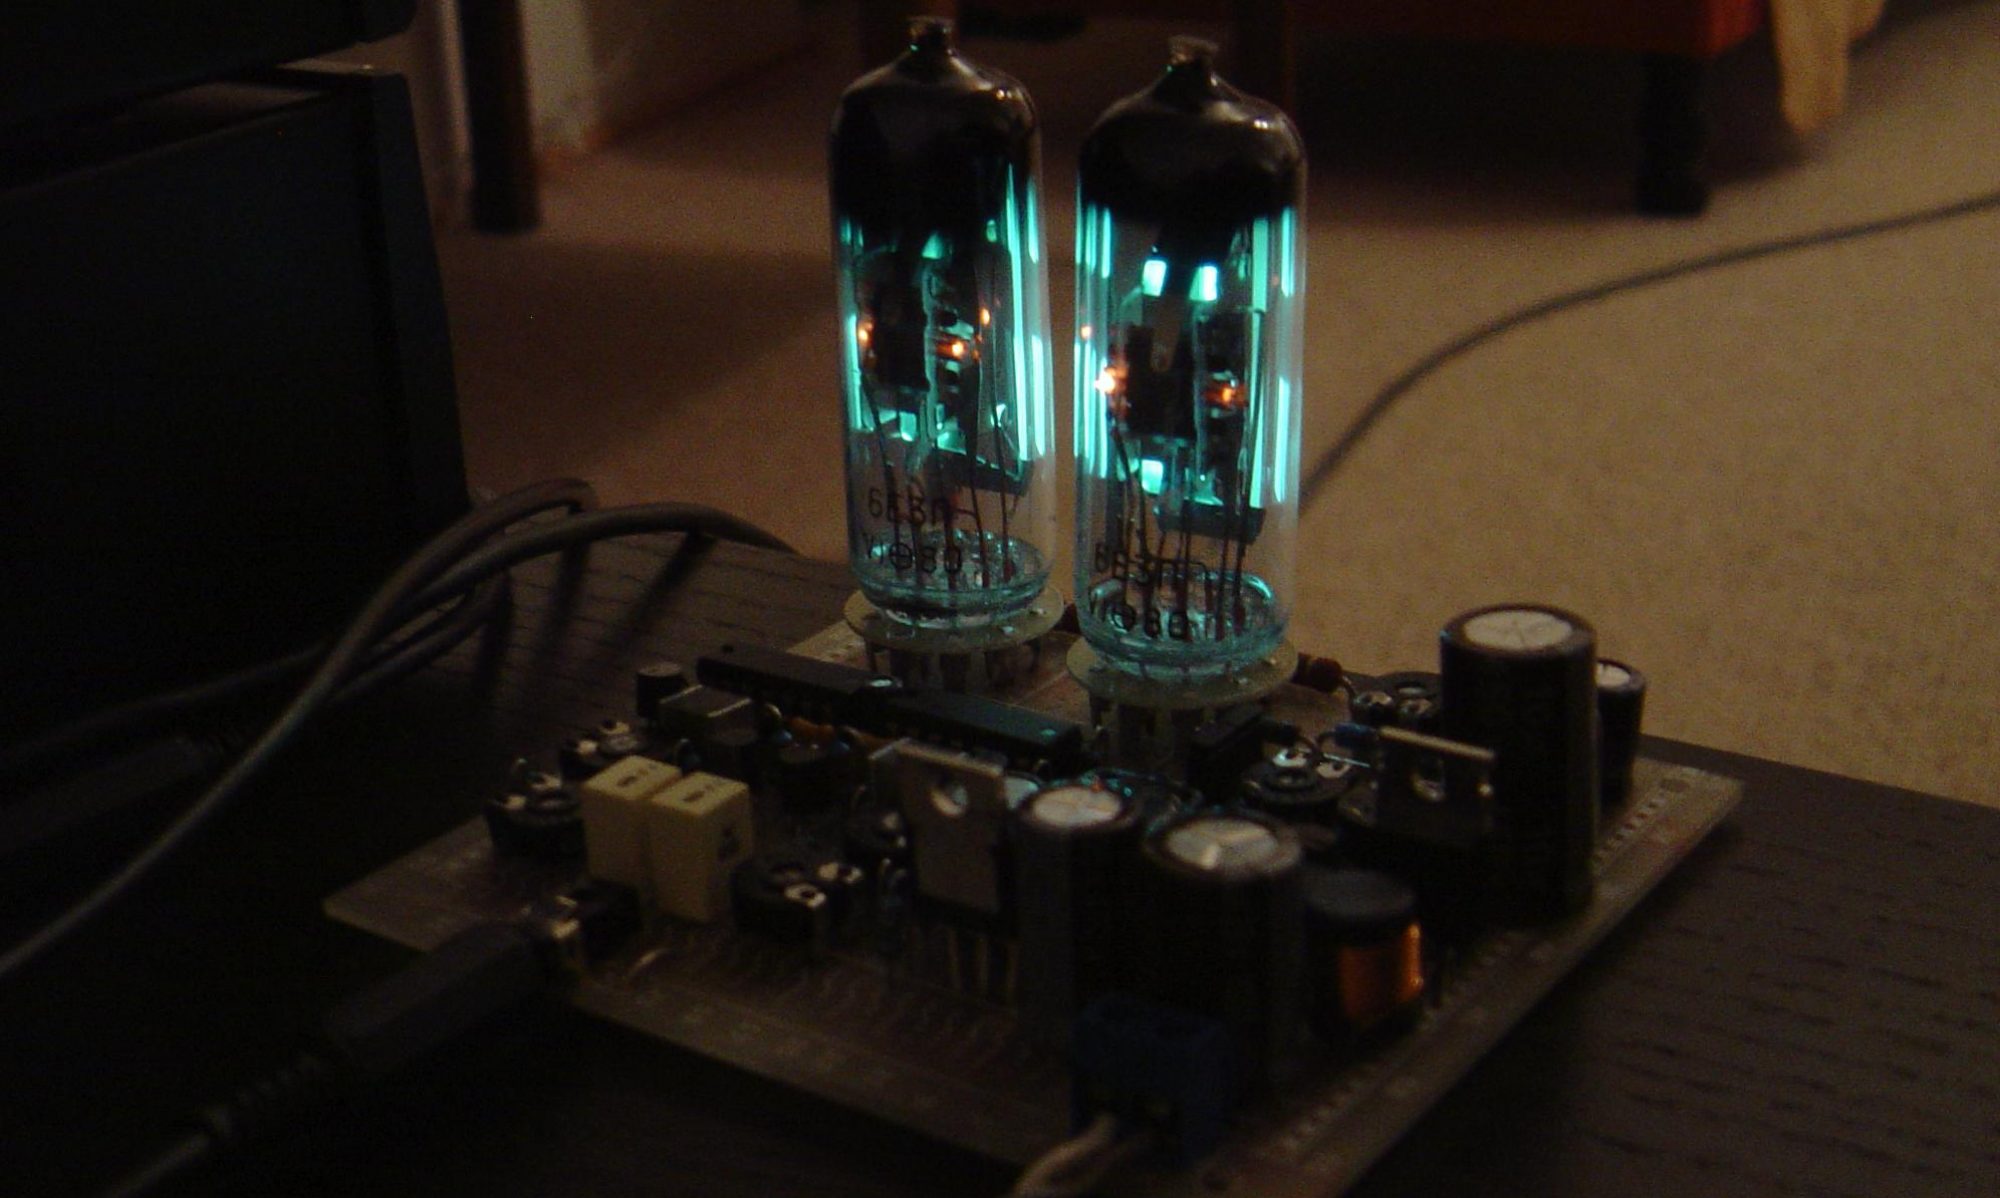
This is a retro project I built in 2014. I was looking for a nice VU-Meter with tubes but didn’t find any project in the internet that fulfilled my requirements. So I had to develop a circuit by myself with the “magic bar” tube EM84. The front page picture of this blog shows the finished project in operation.
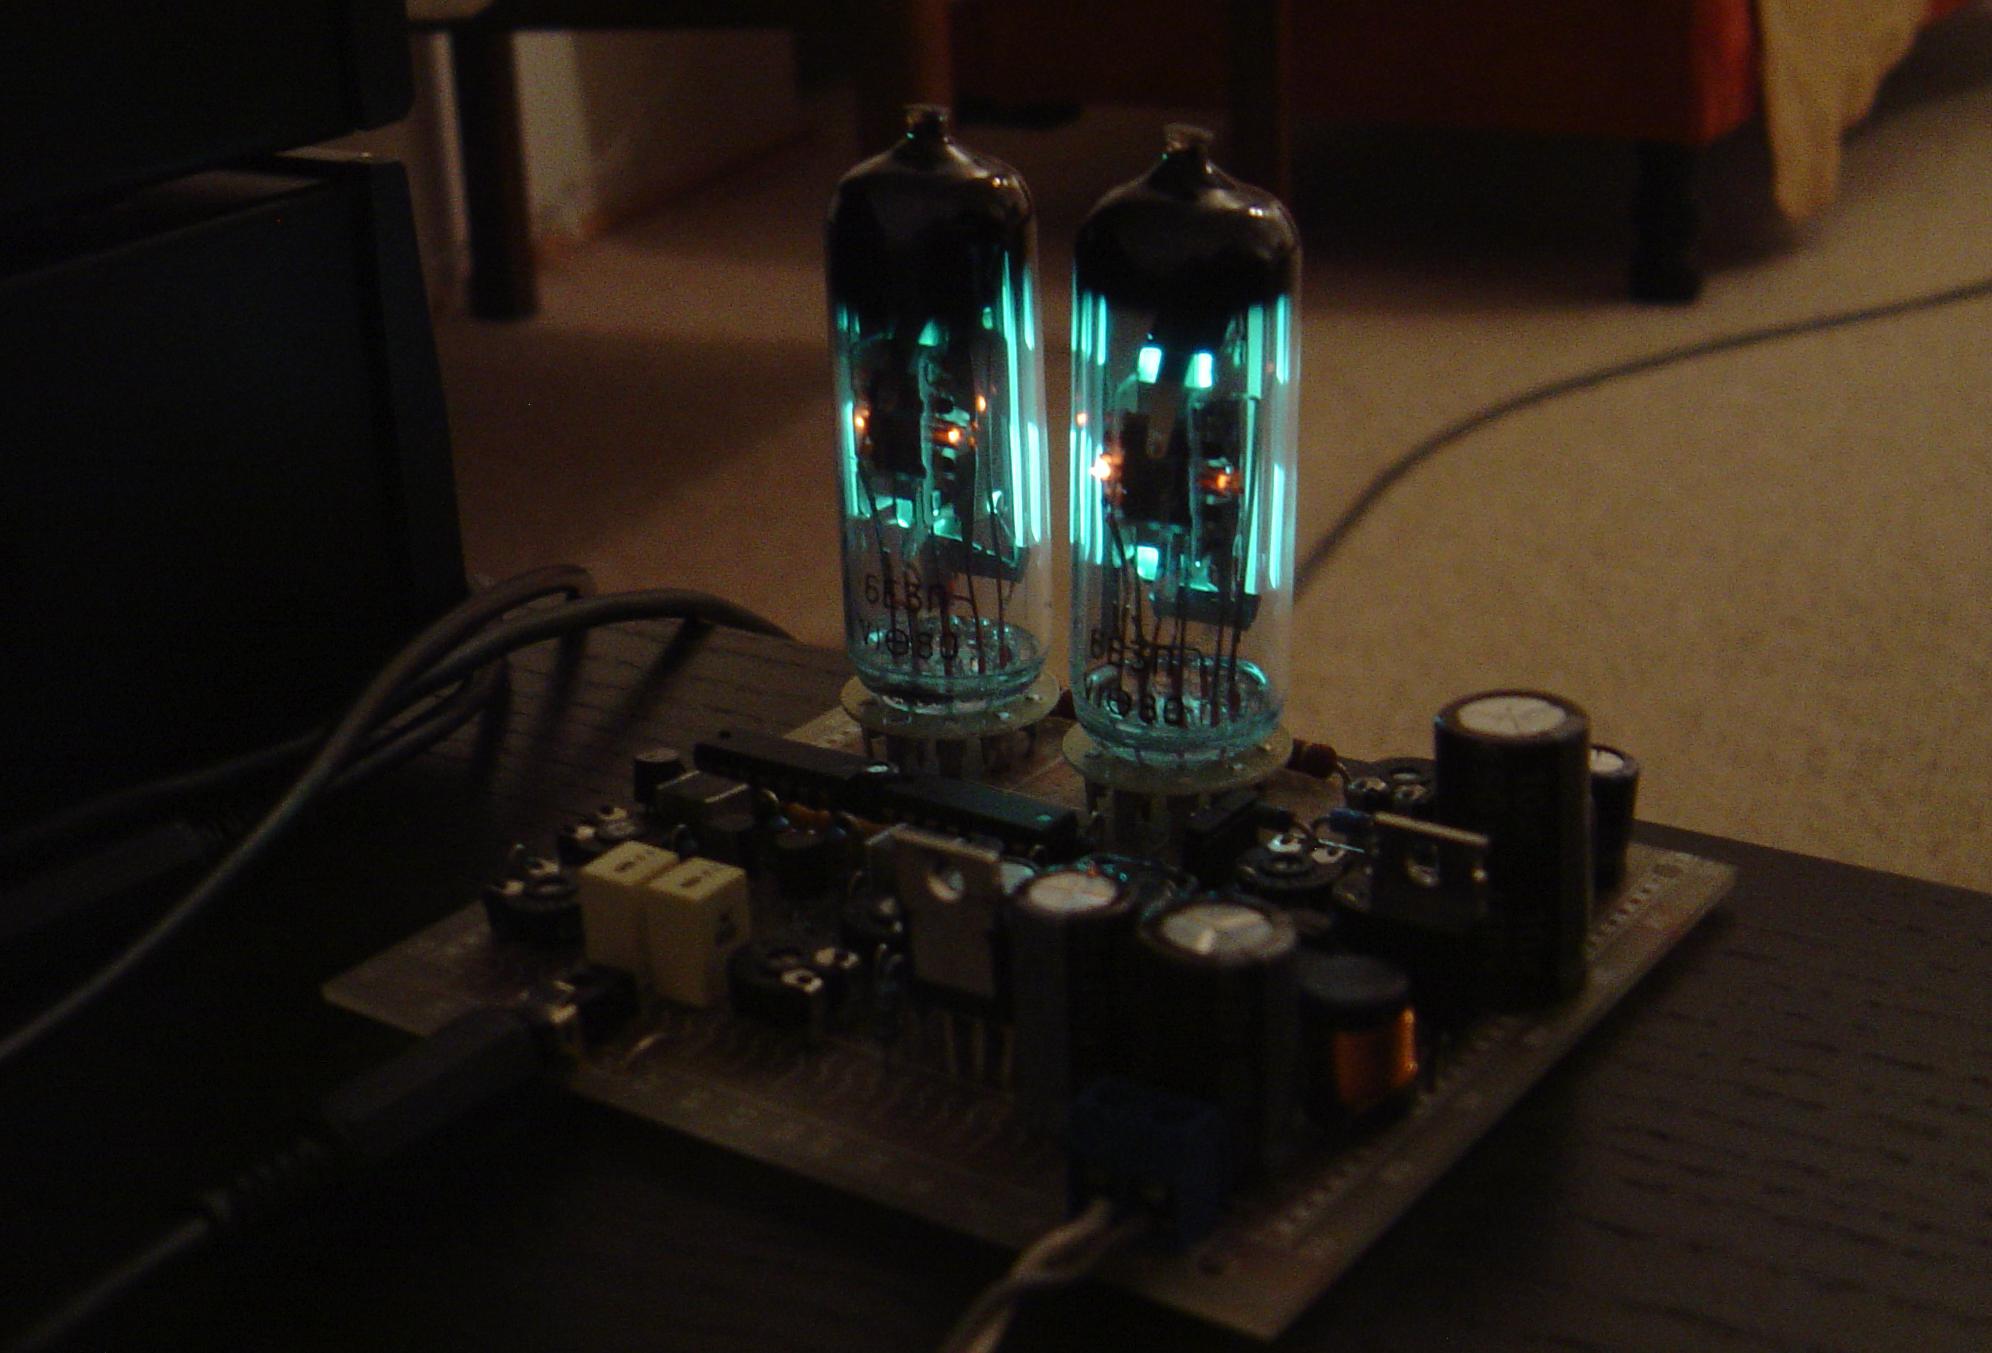
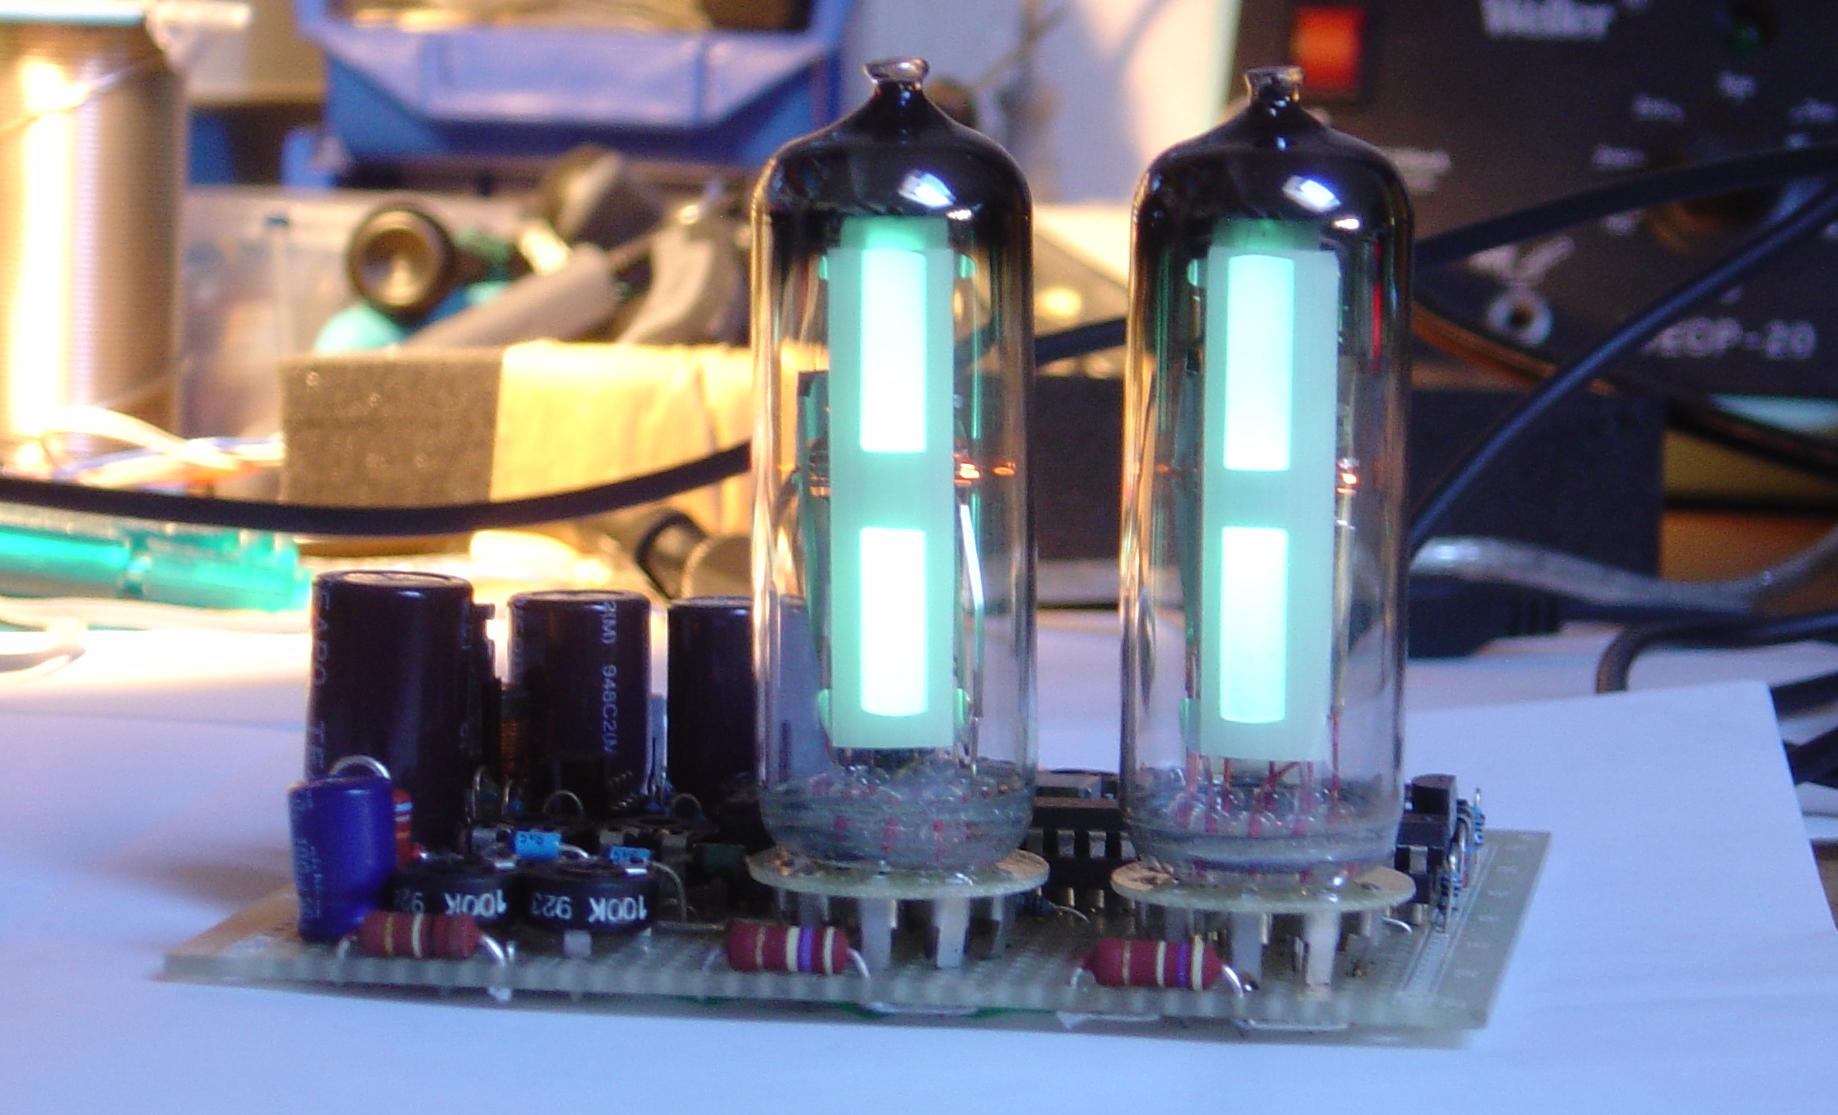
For the tubes I used a cheaper and NOS replacement from Russia, 6Е3П. The control electronics, made with four operational amplifiers of a TL064, does the signal amplification, logarithmic function, peak detection and an analog adder to adjust the zero point. An N-FET current source is used to realize the linear drop. For better thermal stability of the calibrated circuit the TL064 can be replaced by a LT1014 precision Op Amp.
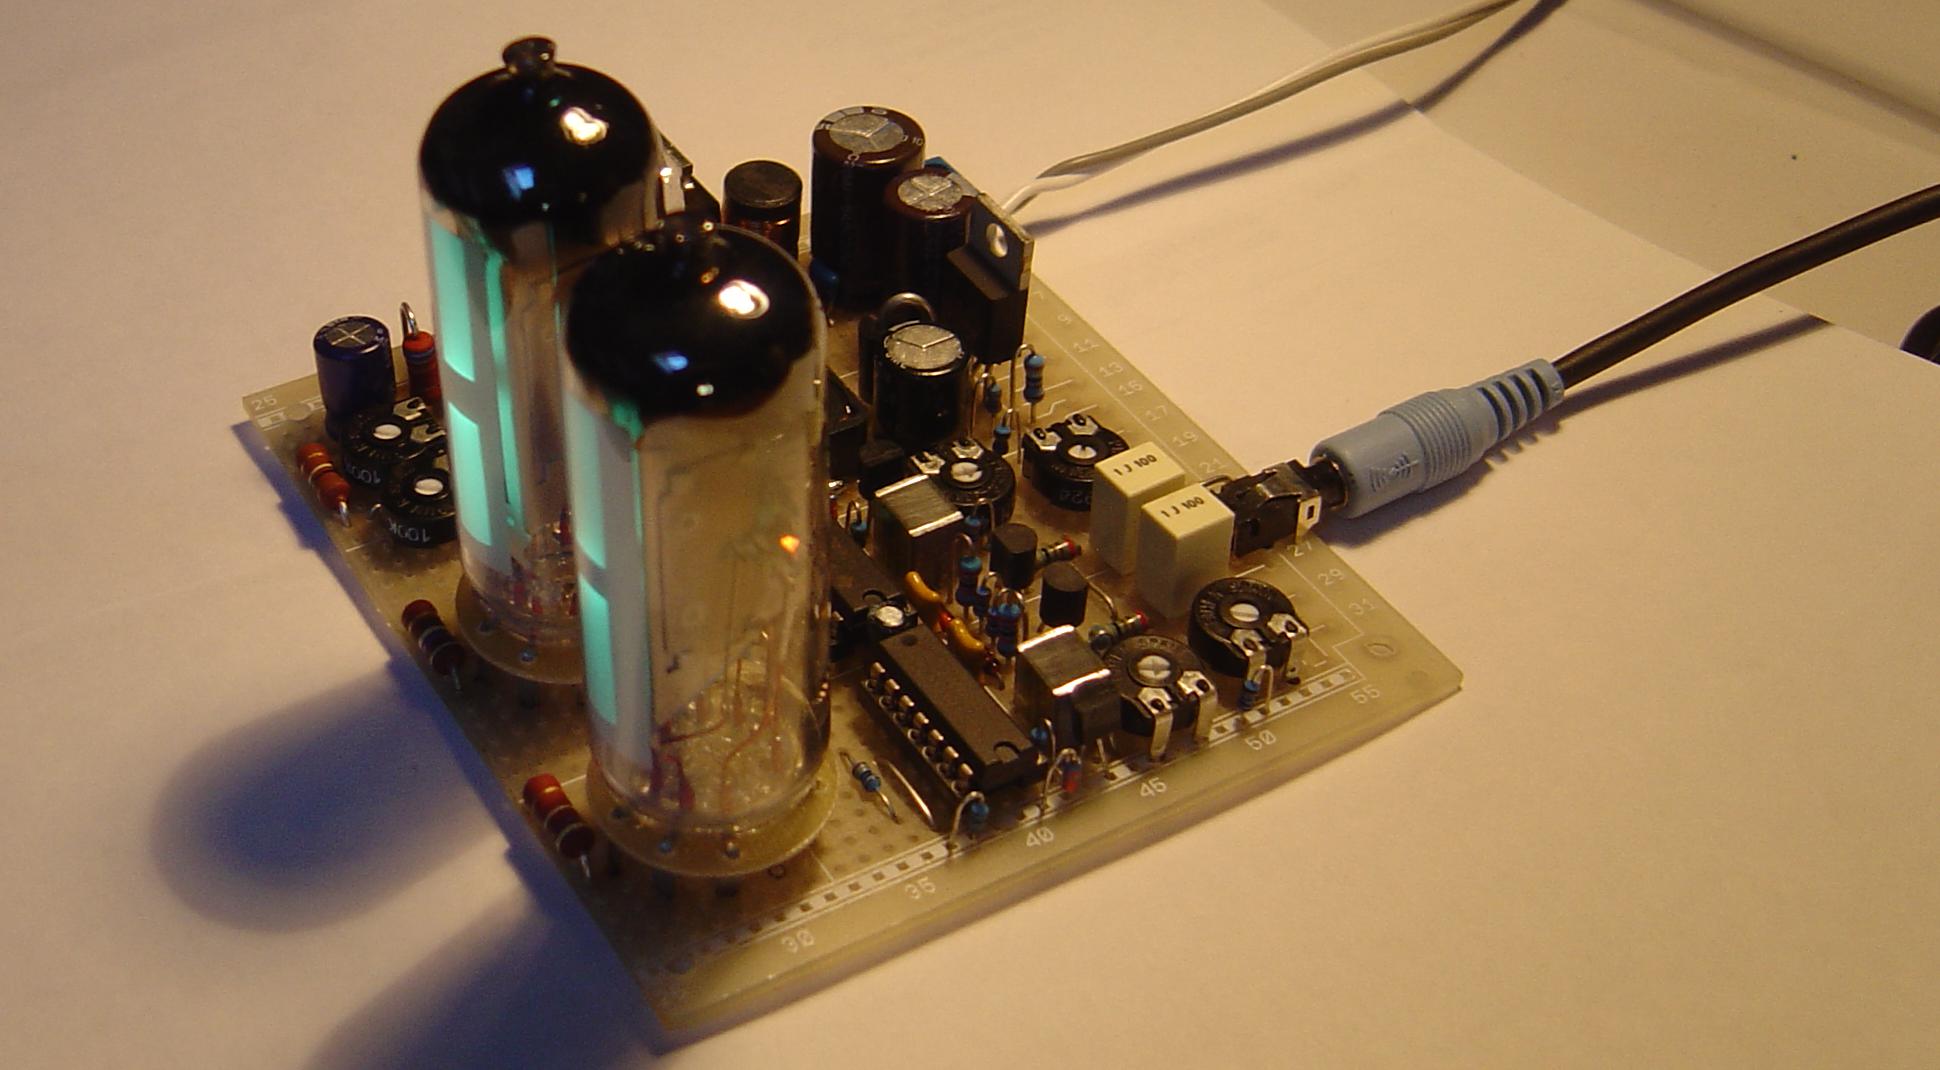
There are two switching regulators to create all needed voltages from a single 12V supply. The first regulator with a TLC555 as controller creates the anode voltage of approximately 240V. From that source four other voltage potentials for the operational amplifiers are derived with a chain of Zener diodes. The second switching regulator is a modern one, LM2575T-ADJ. It is used to efficiently create the heater voltage of 6.3V.
The sum of all features makes this project unique and most professional compared to a lot of similar circuitry found in the internet.
project goals:
- single power supply of 12V
- logarithmic scale
- constant current source for linear drop
- multiple adjustment possibilities to match unequal tubes
- aesthetic scene

The schematics is available for download here, the bill of materials you can find here.
VU-meter-EM84-schematics
setting instructions:
- let the circuitry warm up for at least one hour
- shorten jumpers JP1 and JP2 and adjust with P4/P8 for equal brightness
- remove jumpers
- adjust zero point with P3/P7, that only just the green bar disappears
- a signal generator is useful for this step: connect signal with maximum level to the input and adjust maximum (gain) with P1/P5
- disconnect signal, shorten jumpers again
- remove both jumpers synchronously and adjust drop timebase as desired with P2/P6
Guten Tag,
Ich würde diese Schaltung gerne nachbauen. Ich bin allerdings erst noch am Anfang meiner Elektronik Erfahrung. Mich fasziniert die Benutzung der alten Röhren sehr.
Gibt es eine fertige Platine, die ich käuflich erwerben kann?
Hallo Sebastian,
schön, mal eine Rückmeldung zu bekommen.
Ich habe für die Schaltung zwar damals keine Platine entworfen, mittlerweile hat aber jemand ein Layout hier zur Verfügung gestellt:
https://avclub.gr/index.php?threads/vu-meter-me-tin-em84-i-antistoichi.173878/
Falls Du Griechisch nicht lesen kannst, leistet der Google-Translator gute Dienste:
https://avclub-gr.translate.goog/index.php?threads/vu-meter-me-tin-em84-i-antistoichi.173878/&_x_tr_sl=el&_x_tr_tl=de&_x_tr_hl=de&_x_tr_pto=wapp
Man muss sich dort registrieren für Downloads, es ist aber kostenlos.
Ich würde mich freuen, eine Nachricht über den erfolgreichen Nachbau zu lesen. 🙂
Viele Grüße,
Uwe
Guten Tag Uwe,
Tolle Arbeit, die Röhren in Aktion schauen absolut klasse aus
Viele Grüße aus Regensburg,
Florian
Hallo Florian,
danke für das Feedback. Hast Du das nachgebaut oder Dich nur an der Anzeige im Video erfreut? 🙂
Viele Grüße in den Süden der Republik,
Uwe