
This project is not very big but still something special. On the one hand it is part of a restoration which has been prepared for years. On the other hand it seems that nobody has come up with the idea to replace a 5V NVRAM with a 3.3V FRAM or to publish it.
Problem components NVRAM
If you want to keep old devices for a long time, you will always come across chips with integrated lithium battery from “Dallas Semiconductor”, which was bought by “Maxim Integrated” in 2001, which in turn was bought by “Analog Devices” in 2021. These are mostly NVRAMs (non-volatile RAM) or RTCs (real-time clocks) with NVRAM. The battery integrated in the chip package enables the data in the RAM to be retained even after the operating voltage is switched off and the RTC continues to run. An NVRAM controller, which is also integrated, takes care of switching between battery and operating voltage as well as data protection when switching on and off.
Basically, this is a very practical solution, since one can use a single component instead of a whole circuit including battery. However, it is fatal when the built-in battery is exhausted after about 20 years. Almost always the whole device is no longer functional. The components are of course no longer produced. Also the remaining stock traded on the Internet is either already too old or even more often faked. I have bought two fakes myself. Thus, replacement with the original part is not an option.
Replacement options
The replacement of RTC and NVRAM differs significantly.
The NVRAM can be replaced by a corresponding SRAM with NVRAM controller and battery. Some examples can be found on the net.
Another variant is the replacement by FRAM, a memory which can be written arbitrarily like RAM, but which keeps the content even without operating voltage. There are also examples with the FRAM types FM16(W)08 and FM18(W)08 with 64kBit and 256kBit size respectively. The charm of this solution is that no battery is necessary and thus the memory remains maintenance-free. Unfortunately, the two mentioned FRAM types are pin-compatible with the Dallas NVRAMs, but they are controlled somewhat differently. Thus the exchange unfortunately does not work in all devices.
An RTC cannot be replaced so easily. The RTC maps the time to a memory area that is accessed like “normal” RAM. The chip has to keep the required timing exactly. This can only be ensured by using dual-port RAM. However, I have not found suitable circuits. This would be a small project for the future. Currently, there is only the possibility to mechanically drill out an old RTC and connect a new lithium battery from the outside. Or you can use a compatible RTC chip, which is still available as residual stock. As far as I know this is only possible for a DS1486, which is replaced by a DS1386G incl. RAM and battery.
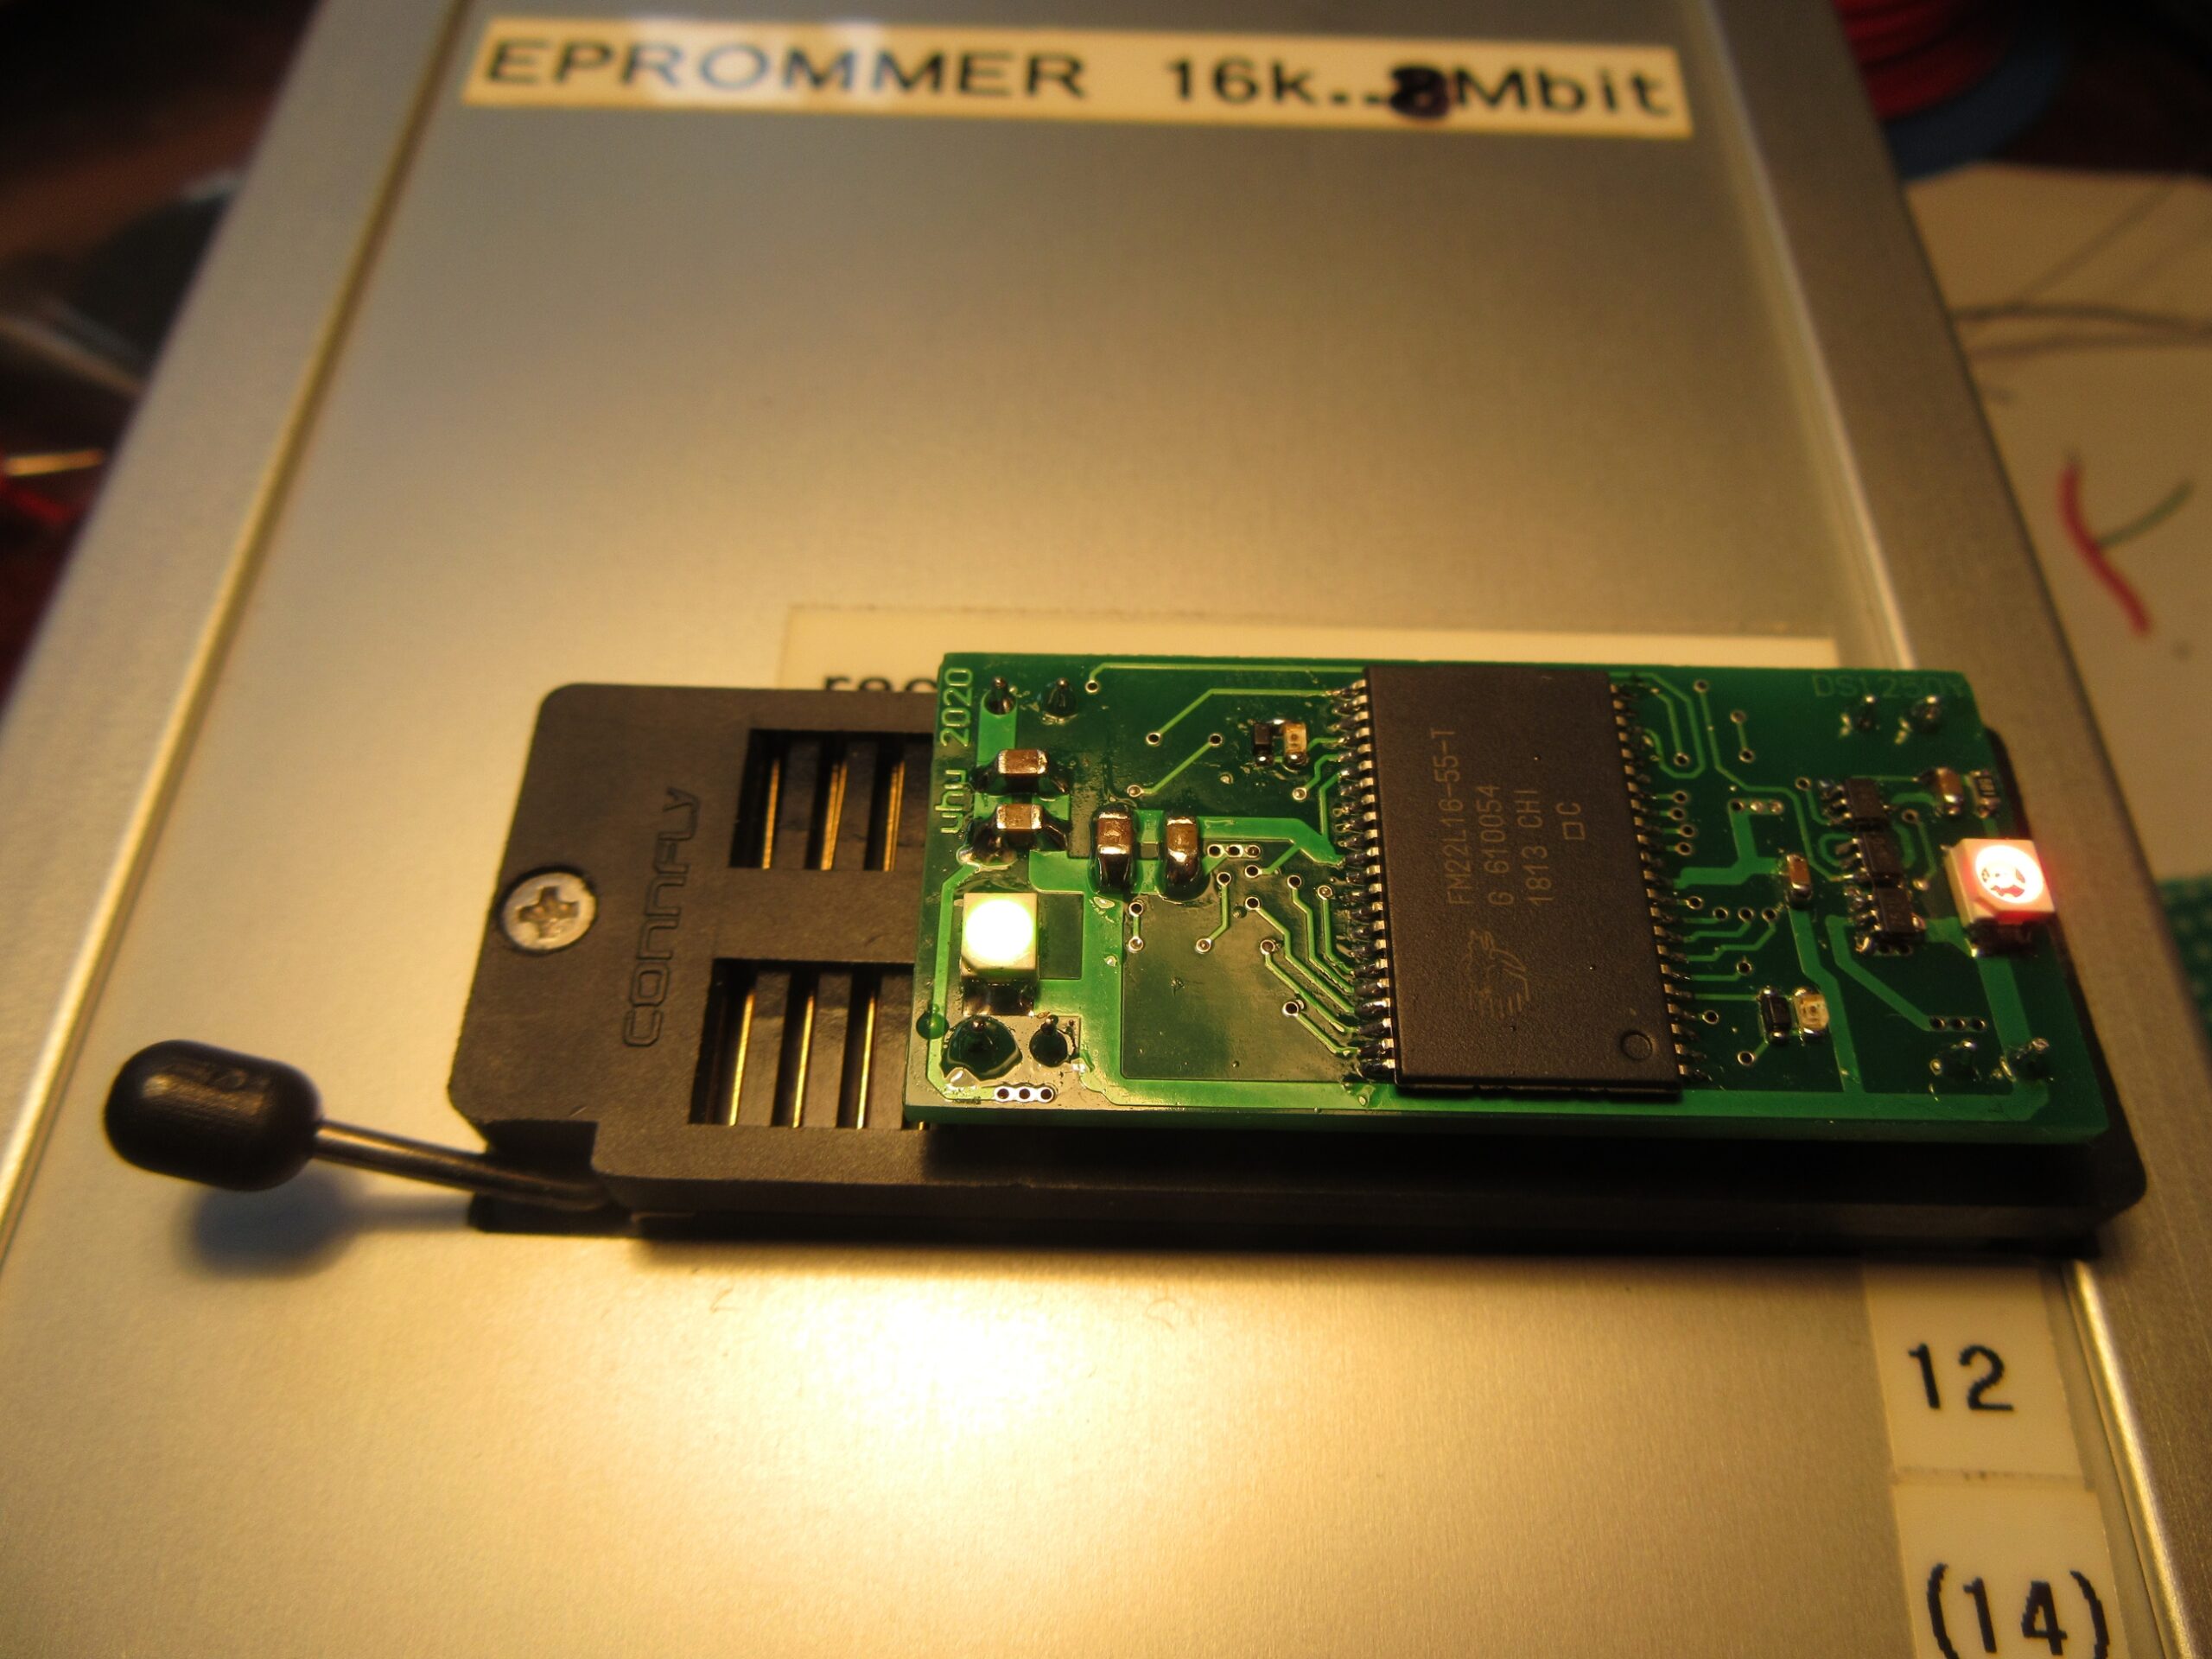
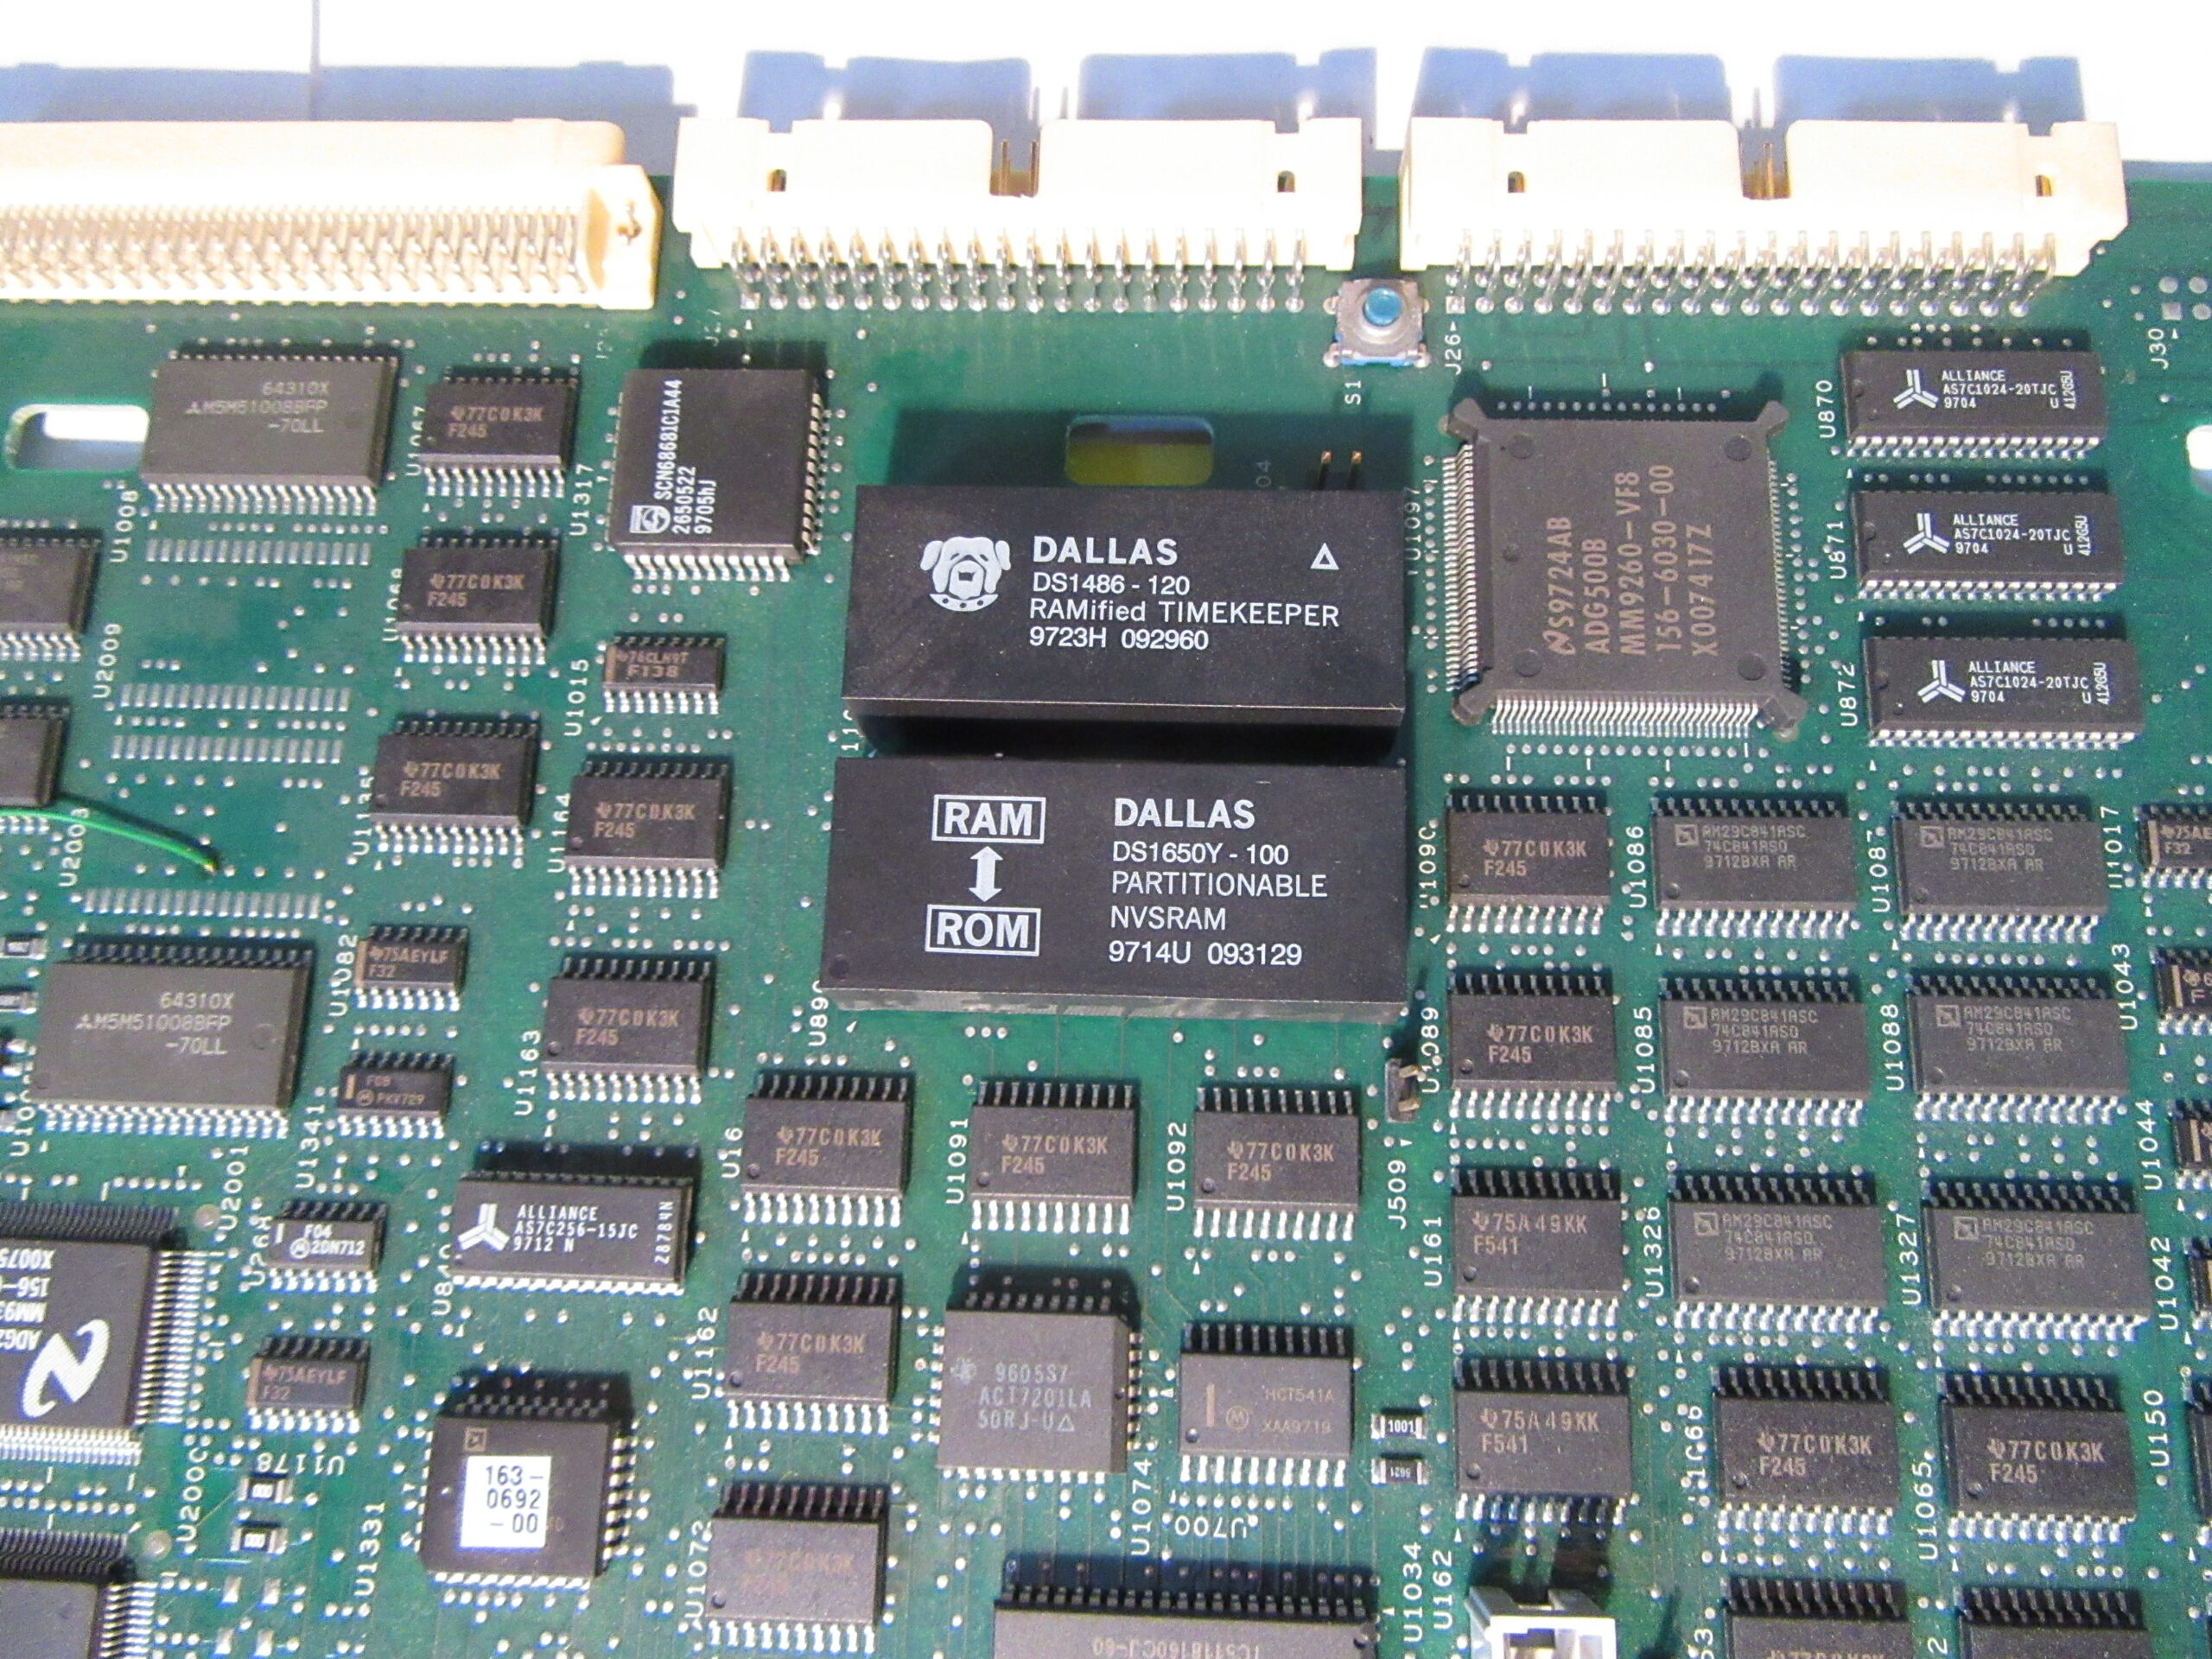
DS1250Y/DS1650Y FRAM Replacement
Now to the corpus delicti. The DS1250Y component from “Dallas Semiconductor” is a 4MBit NVRAM. The pin-compatible DS1650Y variant also has the option of write-protecting individual memory areas via software. Thus the DS1650Y can replace the DS1250Y. The other way around, this doesn’t work in every case, but only when the software doesn’t use the write protection feature or doesn’t depend on it.
A short component search for parallel 4MBit FRAM brings only one product to light, the FM22L16-55-TG. Unfortunately, it works with a maximum of 3.3V and has 16 bit data width in contrast to 5V and 8 bit on the DS1250Y.
So there are still some parts missing to adapt the FM22L16: Some logic, level shifter, a voltage regulator and some brain power. Difficult in the design was also that the whole circuit has to fit on a board with the size of the original part.
Circuit
After a couple of days of reading and understanding data sheets and drawing schematics, the circuit was ready.
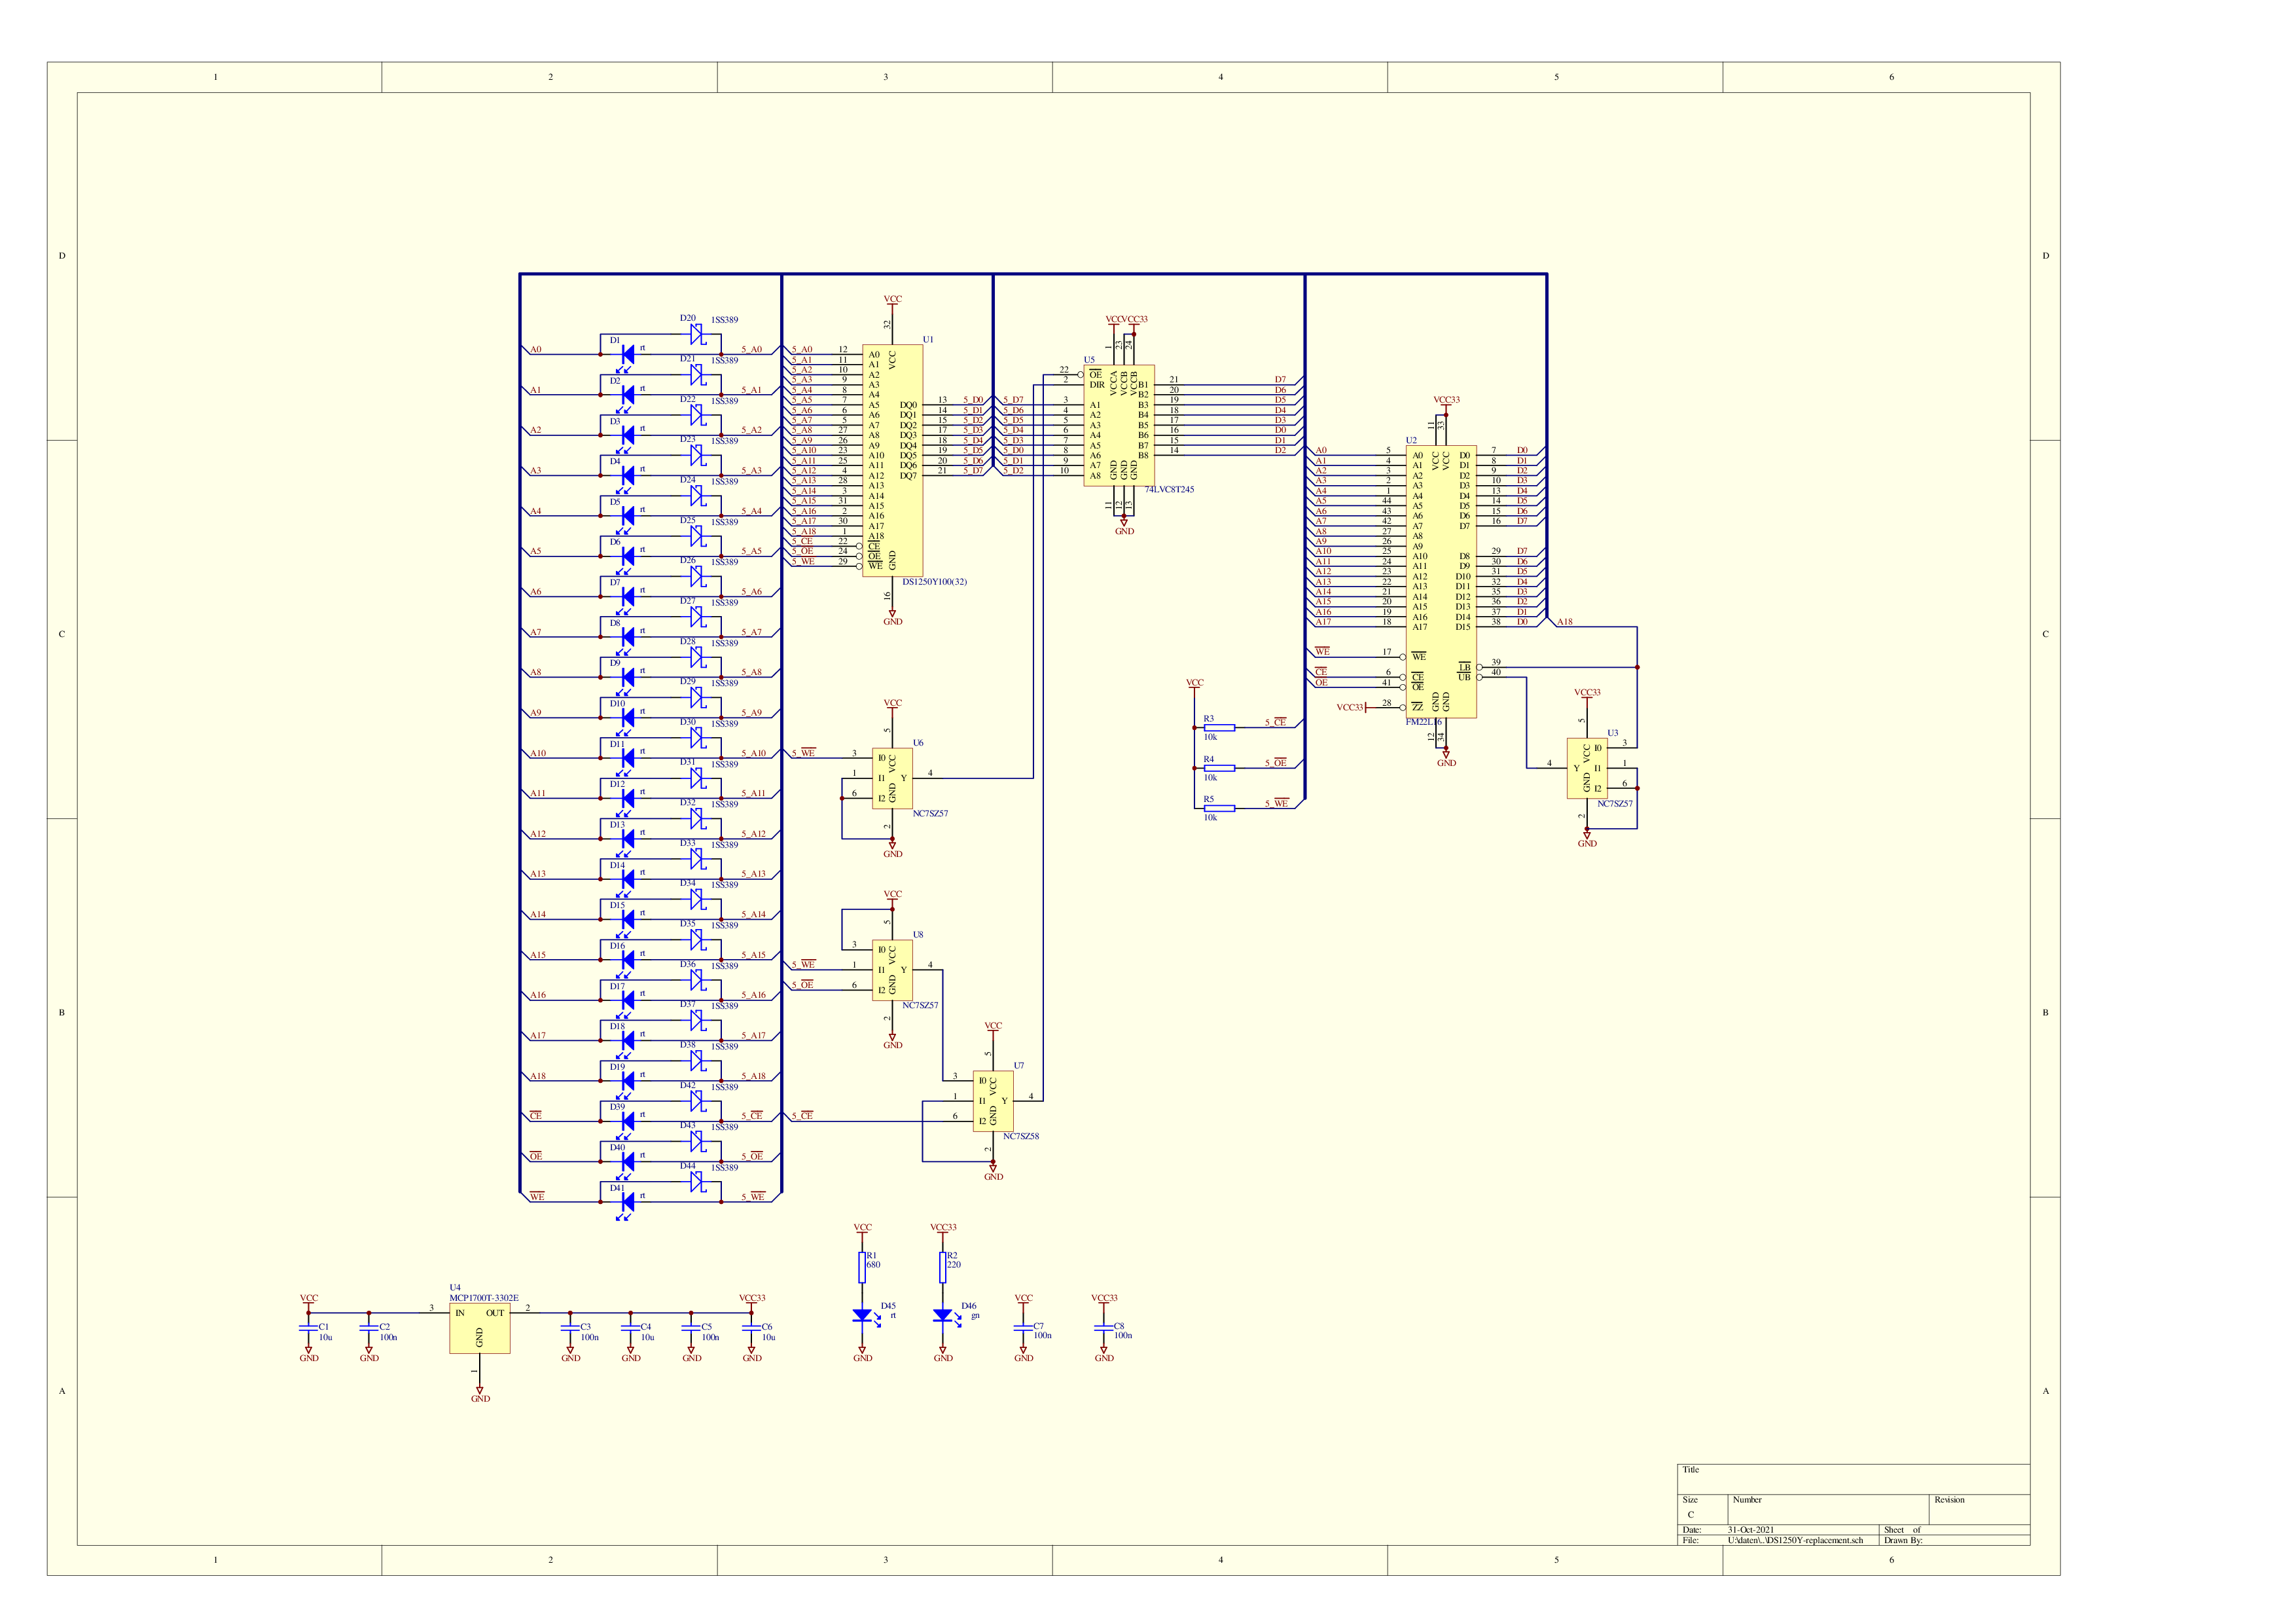
I used a bidirectional level shifter 74LVC8T245 for the data bus, a MCP1700T-3302E low dropout voltage regulator for the 3.3V power supply, a couple of universal single gates for the control logic and Schottky diodes and LEDs for the unidirectional level shifters of the address and control lines.
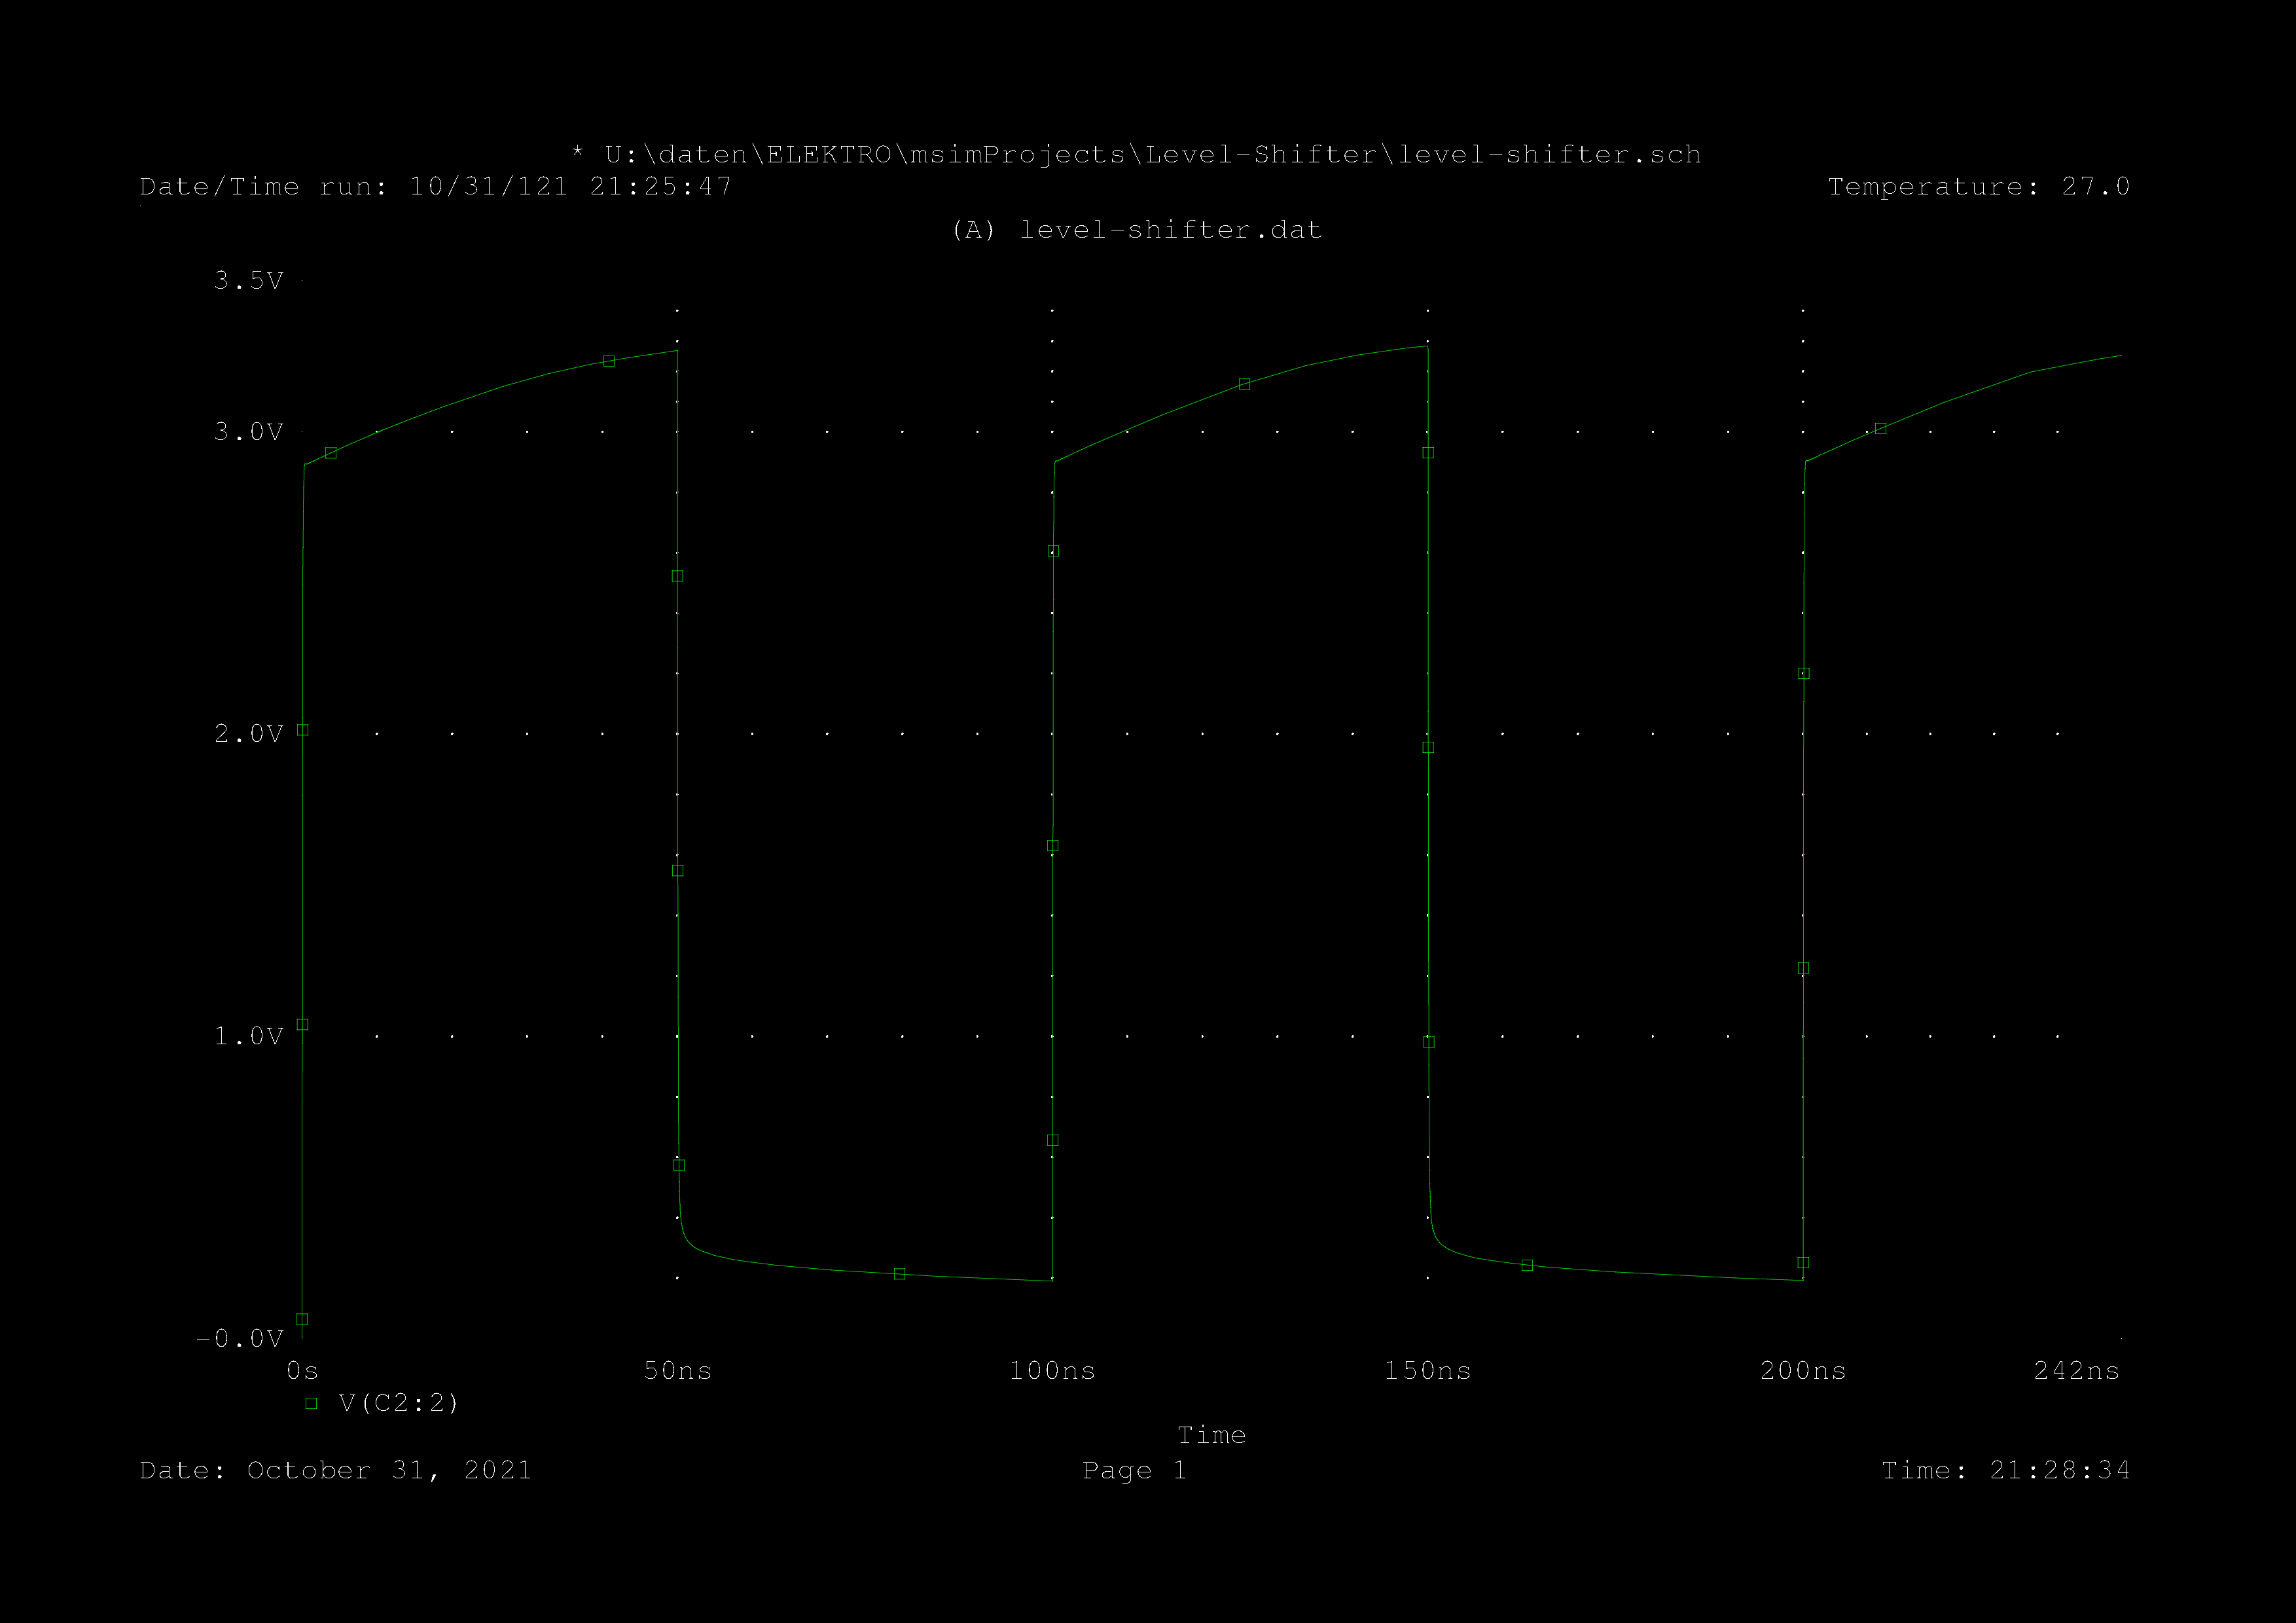
In the first version I had forgotten the pull-up resistors R3 to R5 which caused the data to be changed when the device was removed from the programmer. Otherwise, the circuit works flawlessly and easily meets the timing requirements of the original.
The unidirectional level shifters with a Schottky diode plus LED are still special and grown on my crap. I simulated the circuit and found that this simple way works safely and quickly.
The plan is available as a pdf here.
Contruction
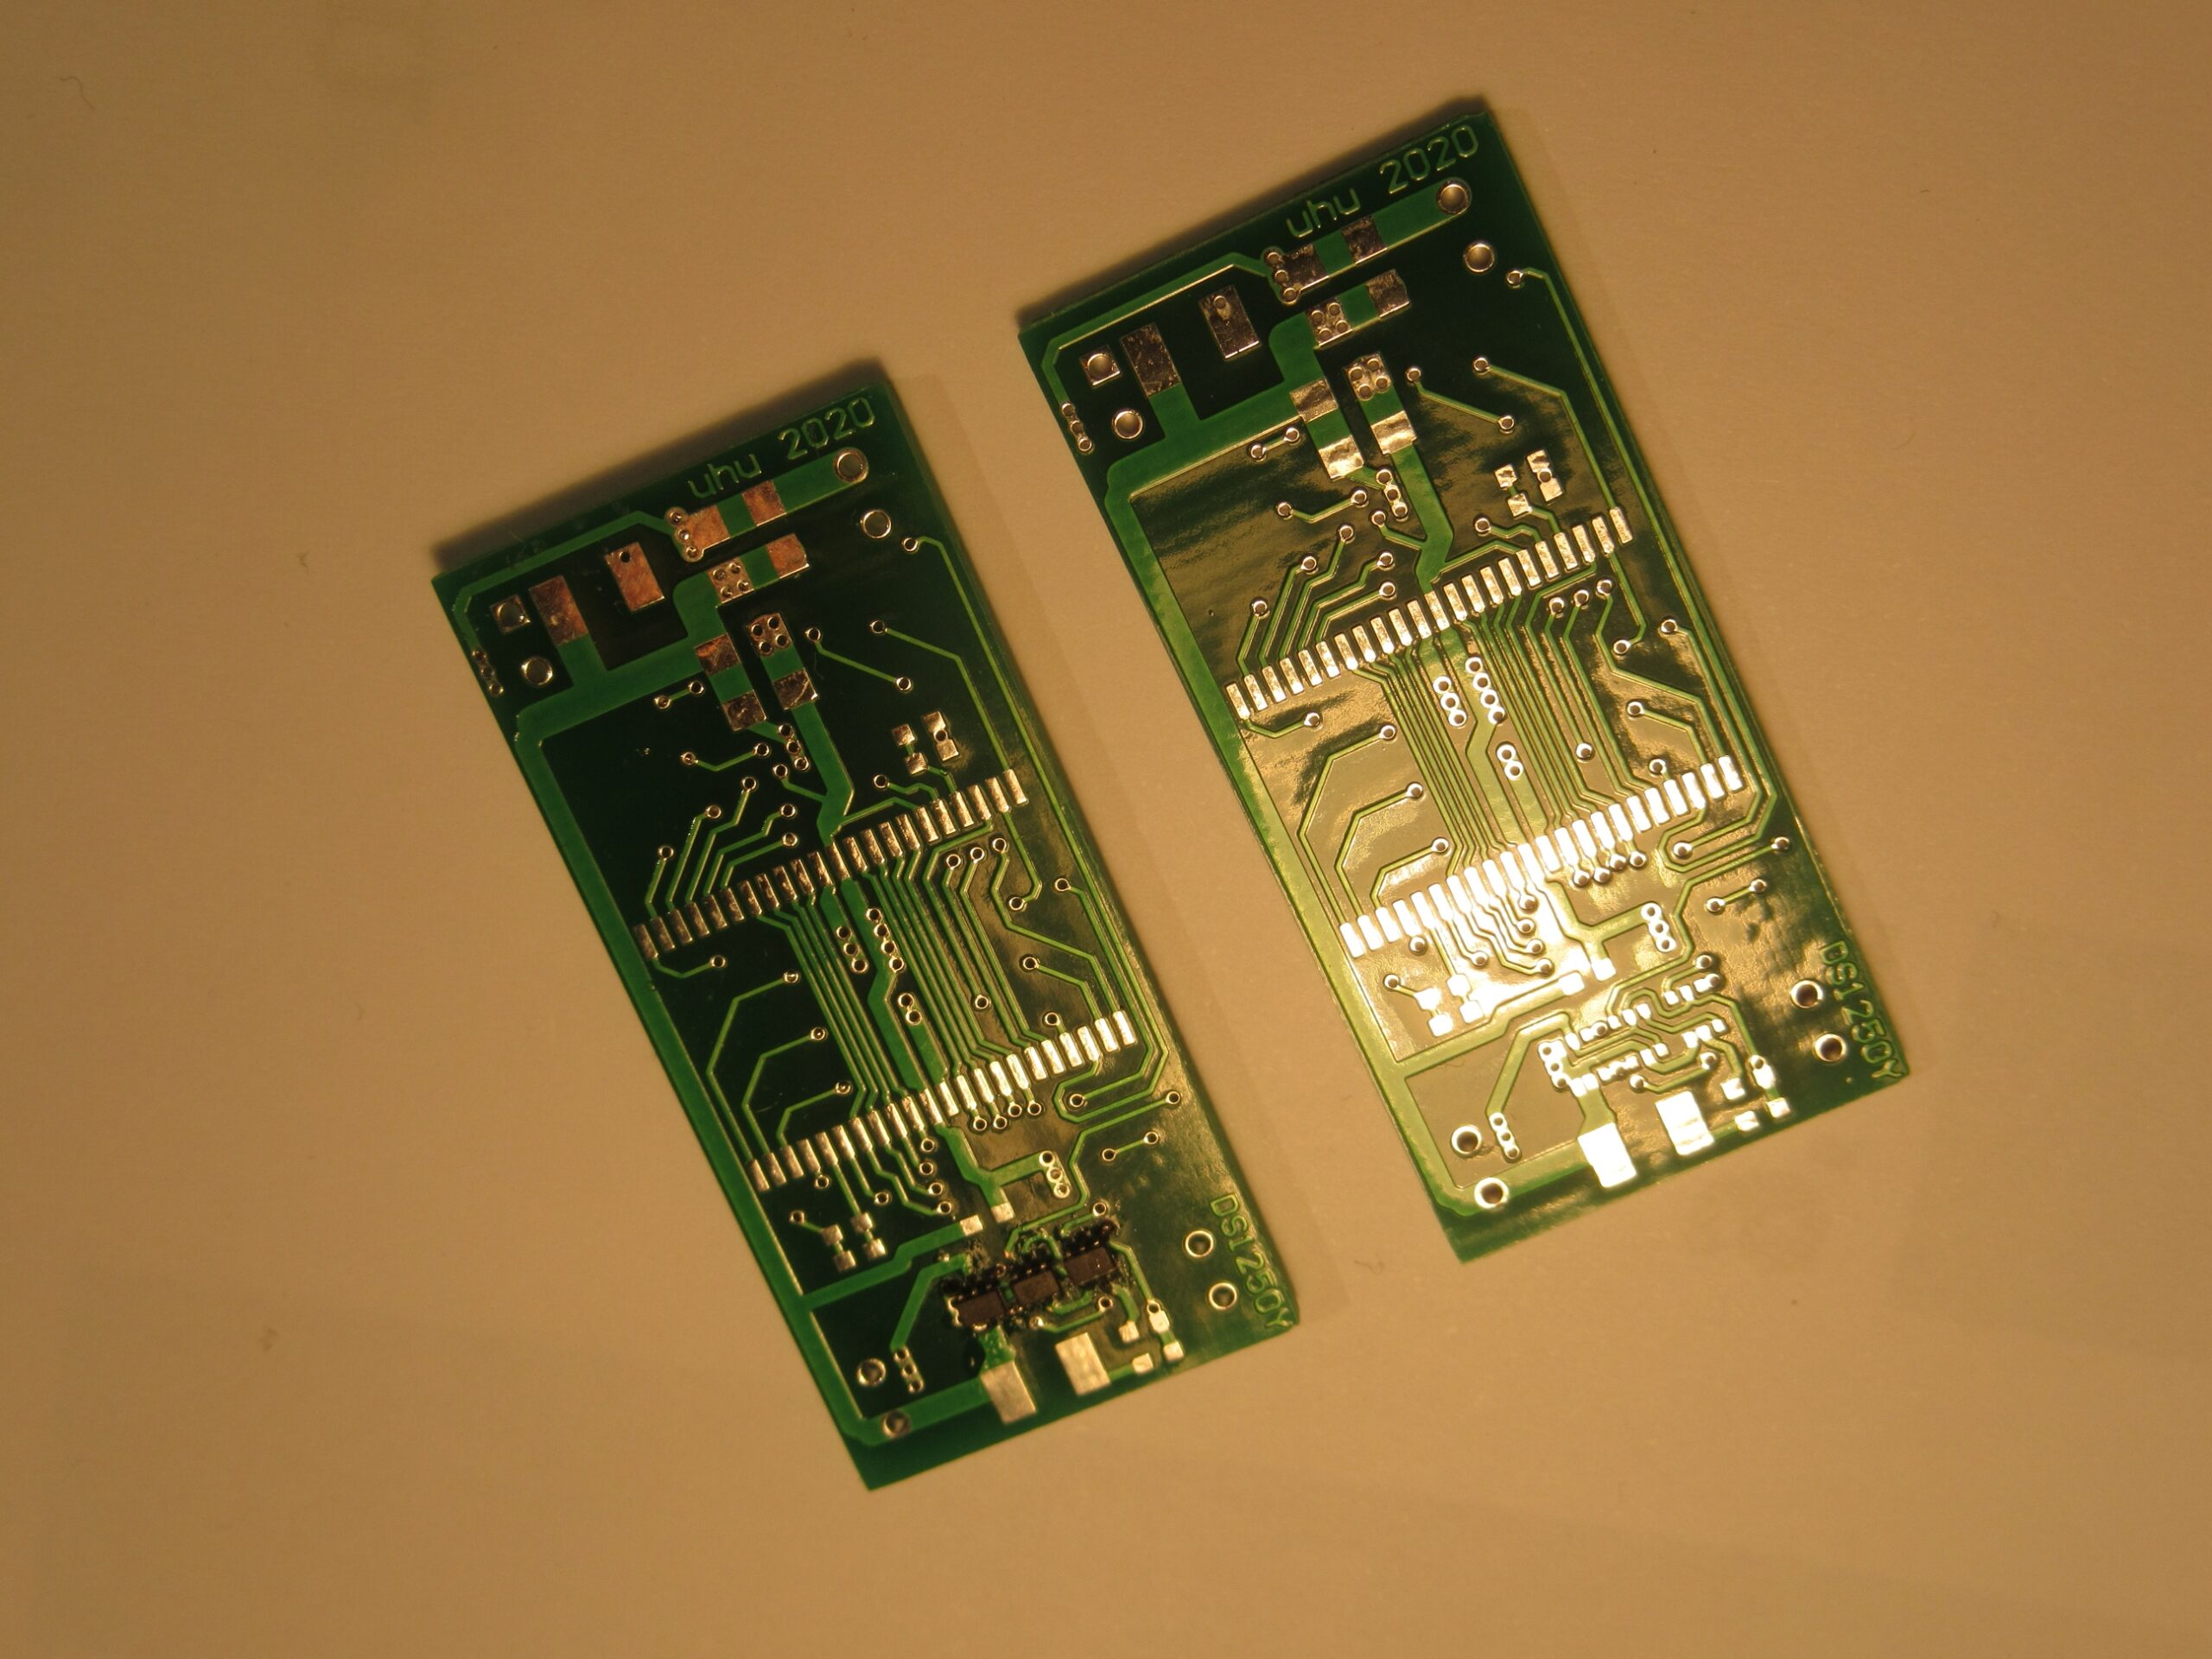
The circuit is placed on a double-sided PCB, which is about 1mm wider than the original component. In most devices, however, there is enough space for it.
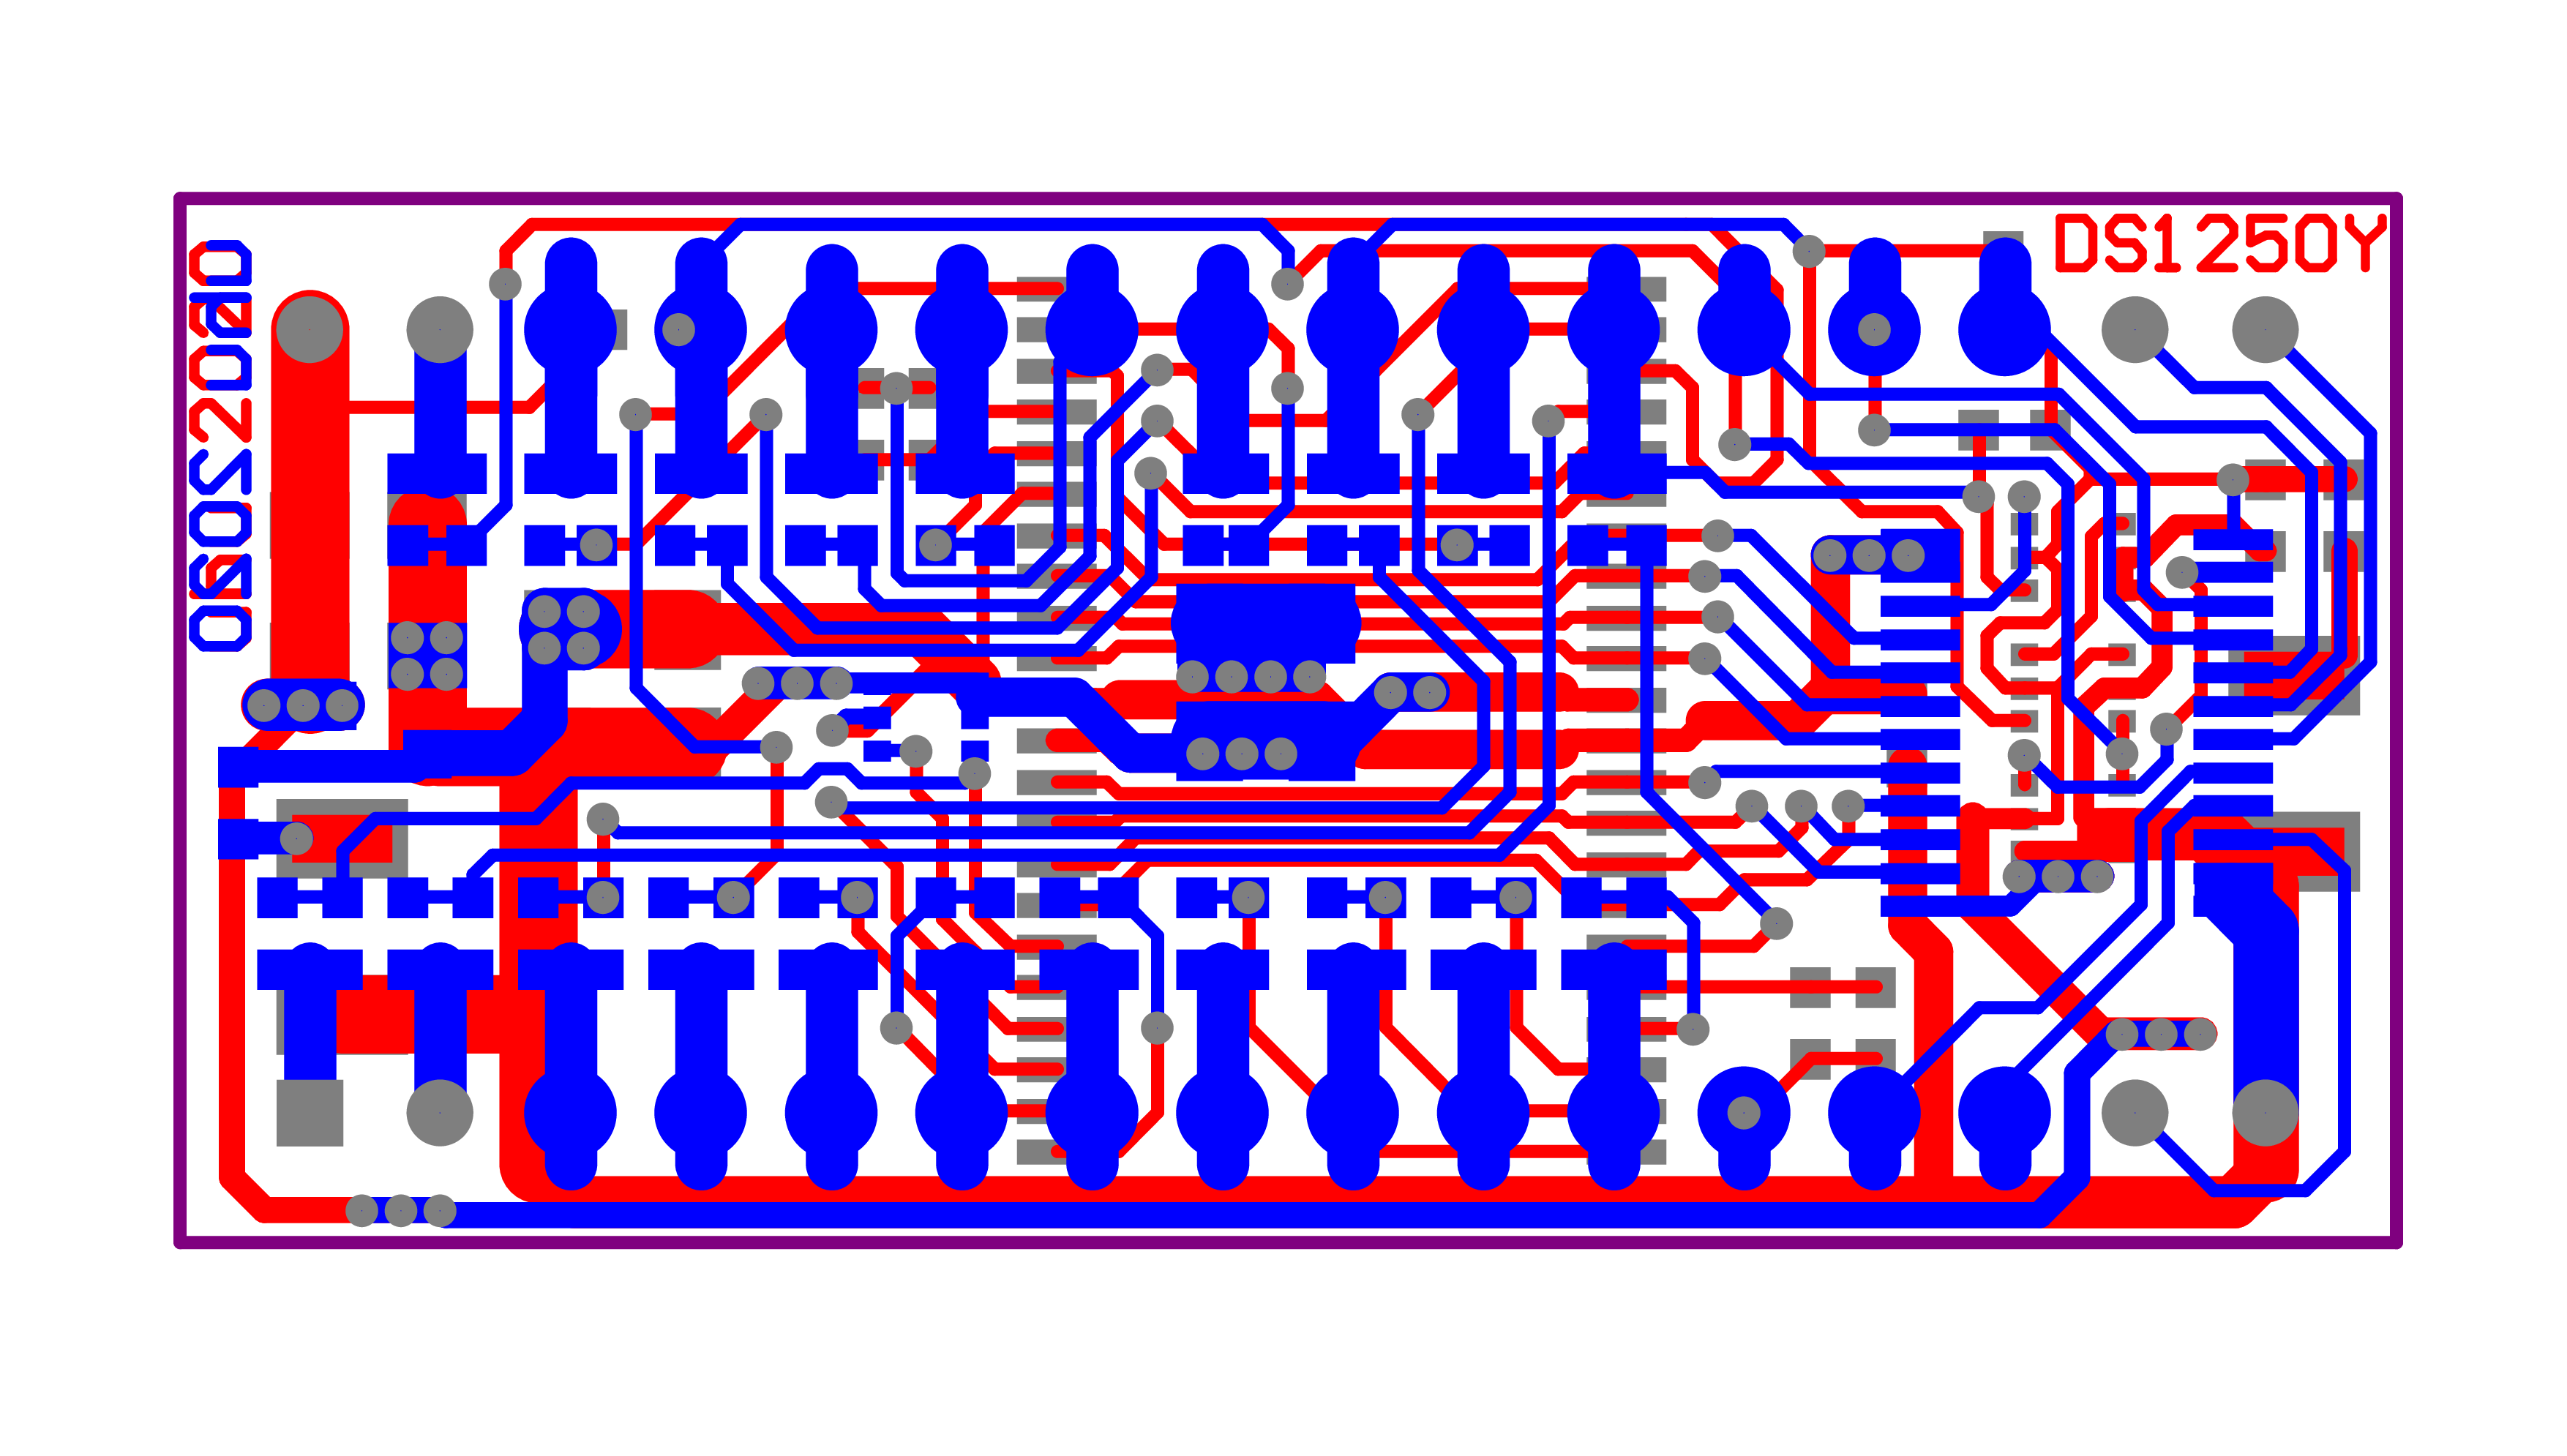
Gerber Files for private reorder are located here. Usually I order at JLCPCB. There you can simply upload the zip for ordering. The bill of materials and the assembly plan are here.
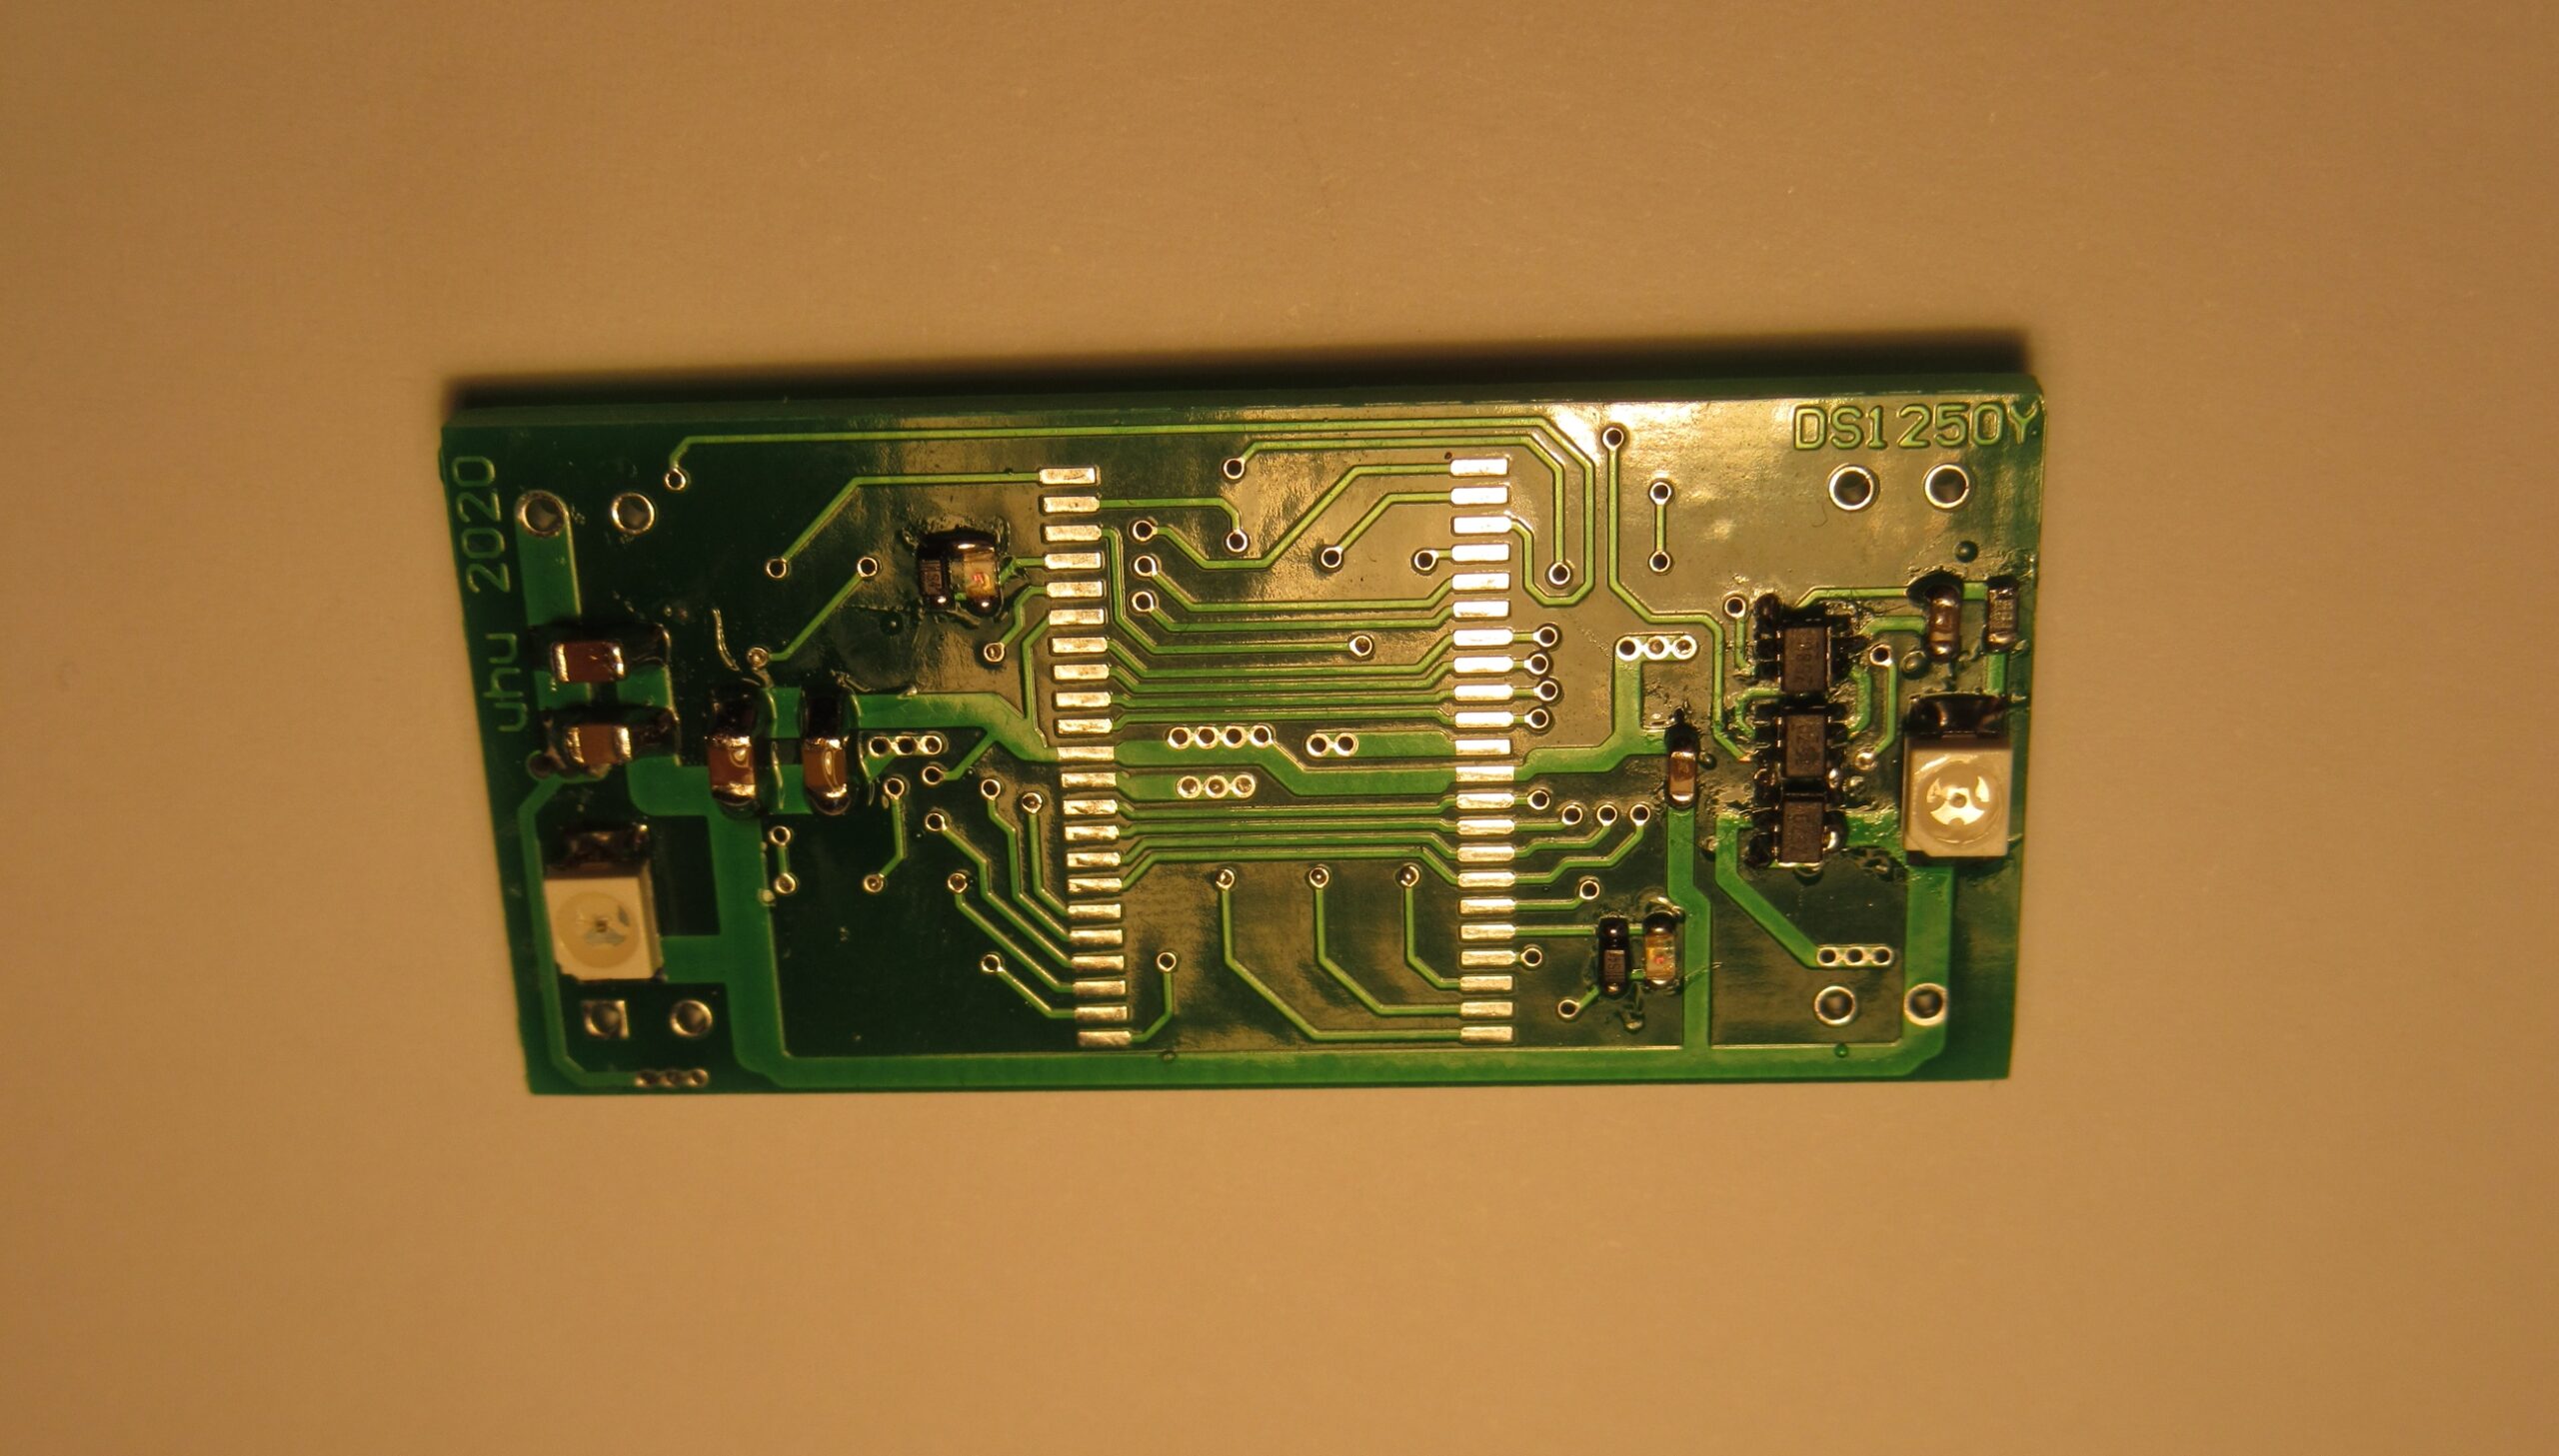
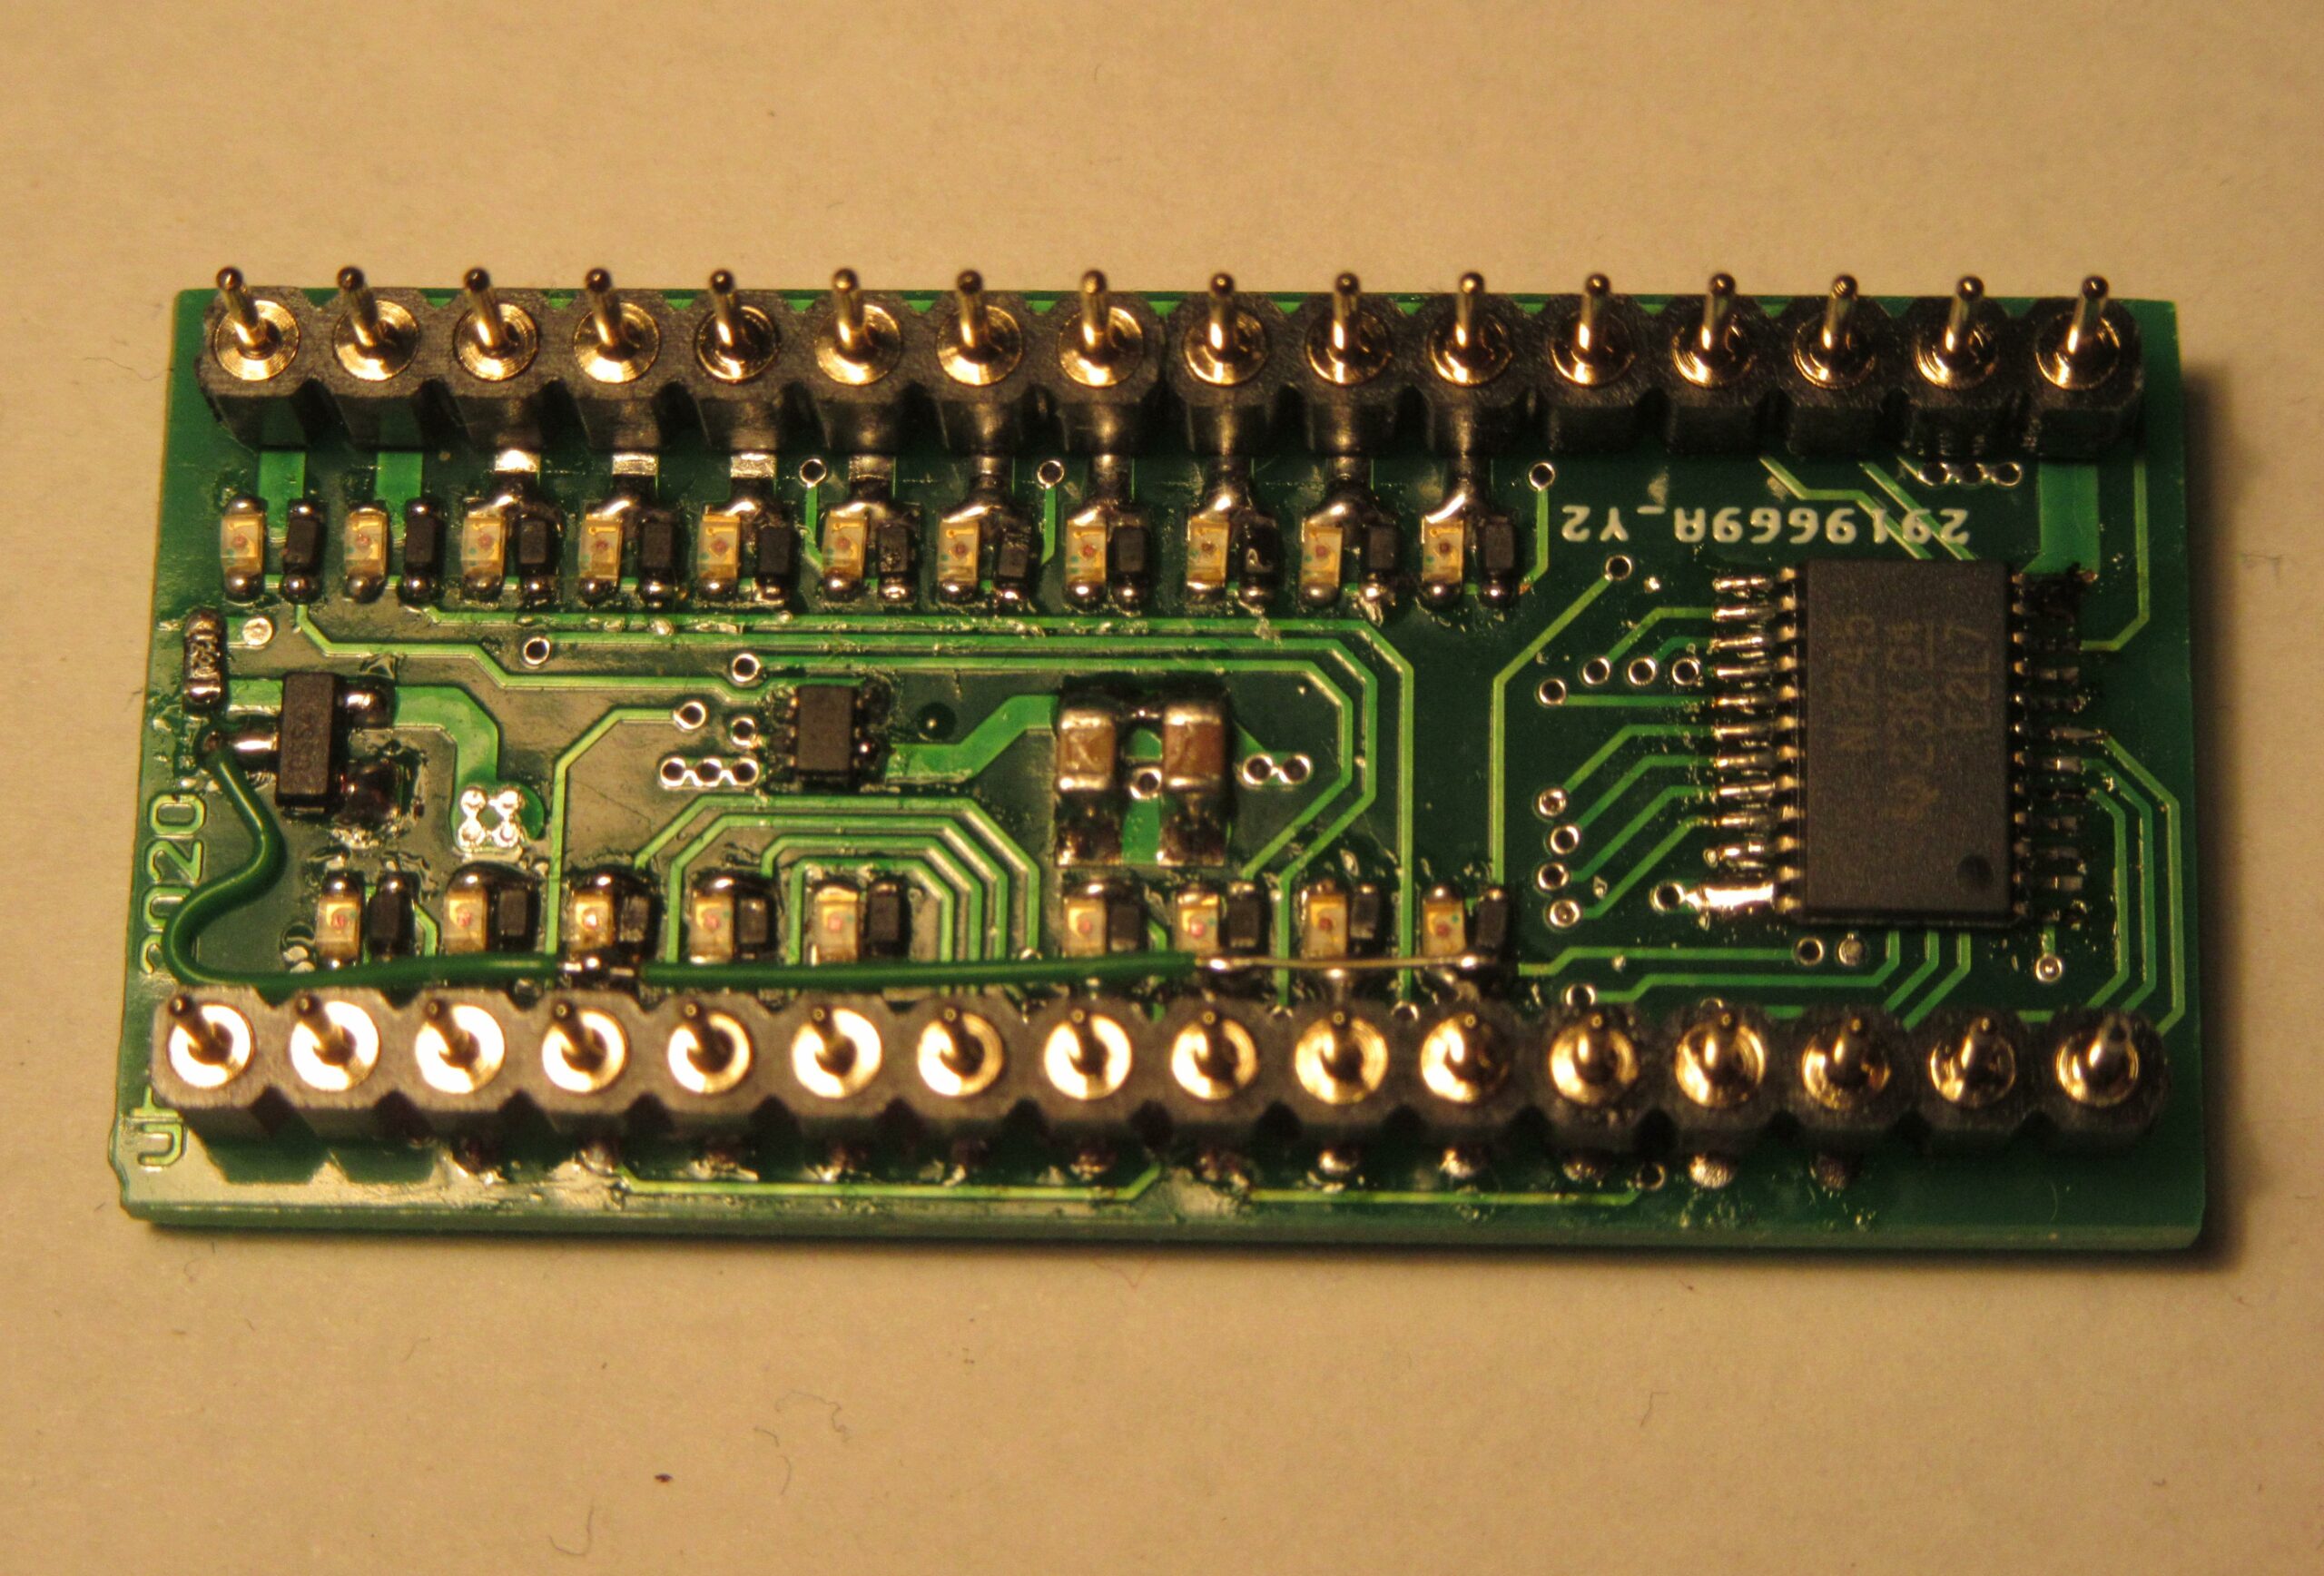
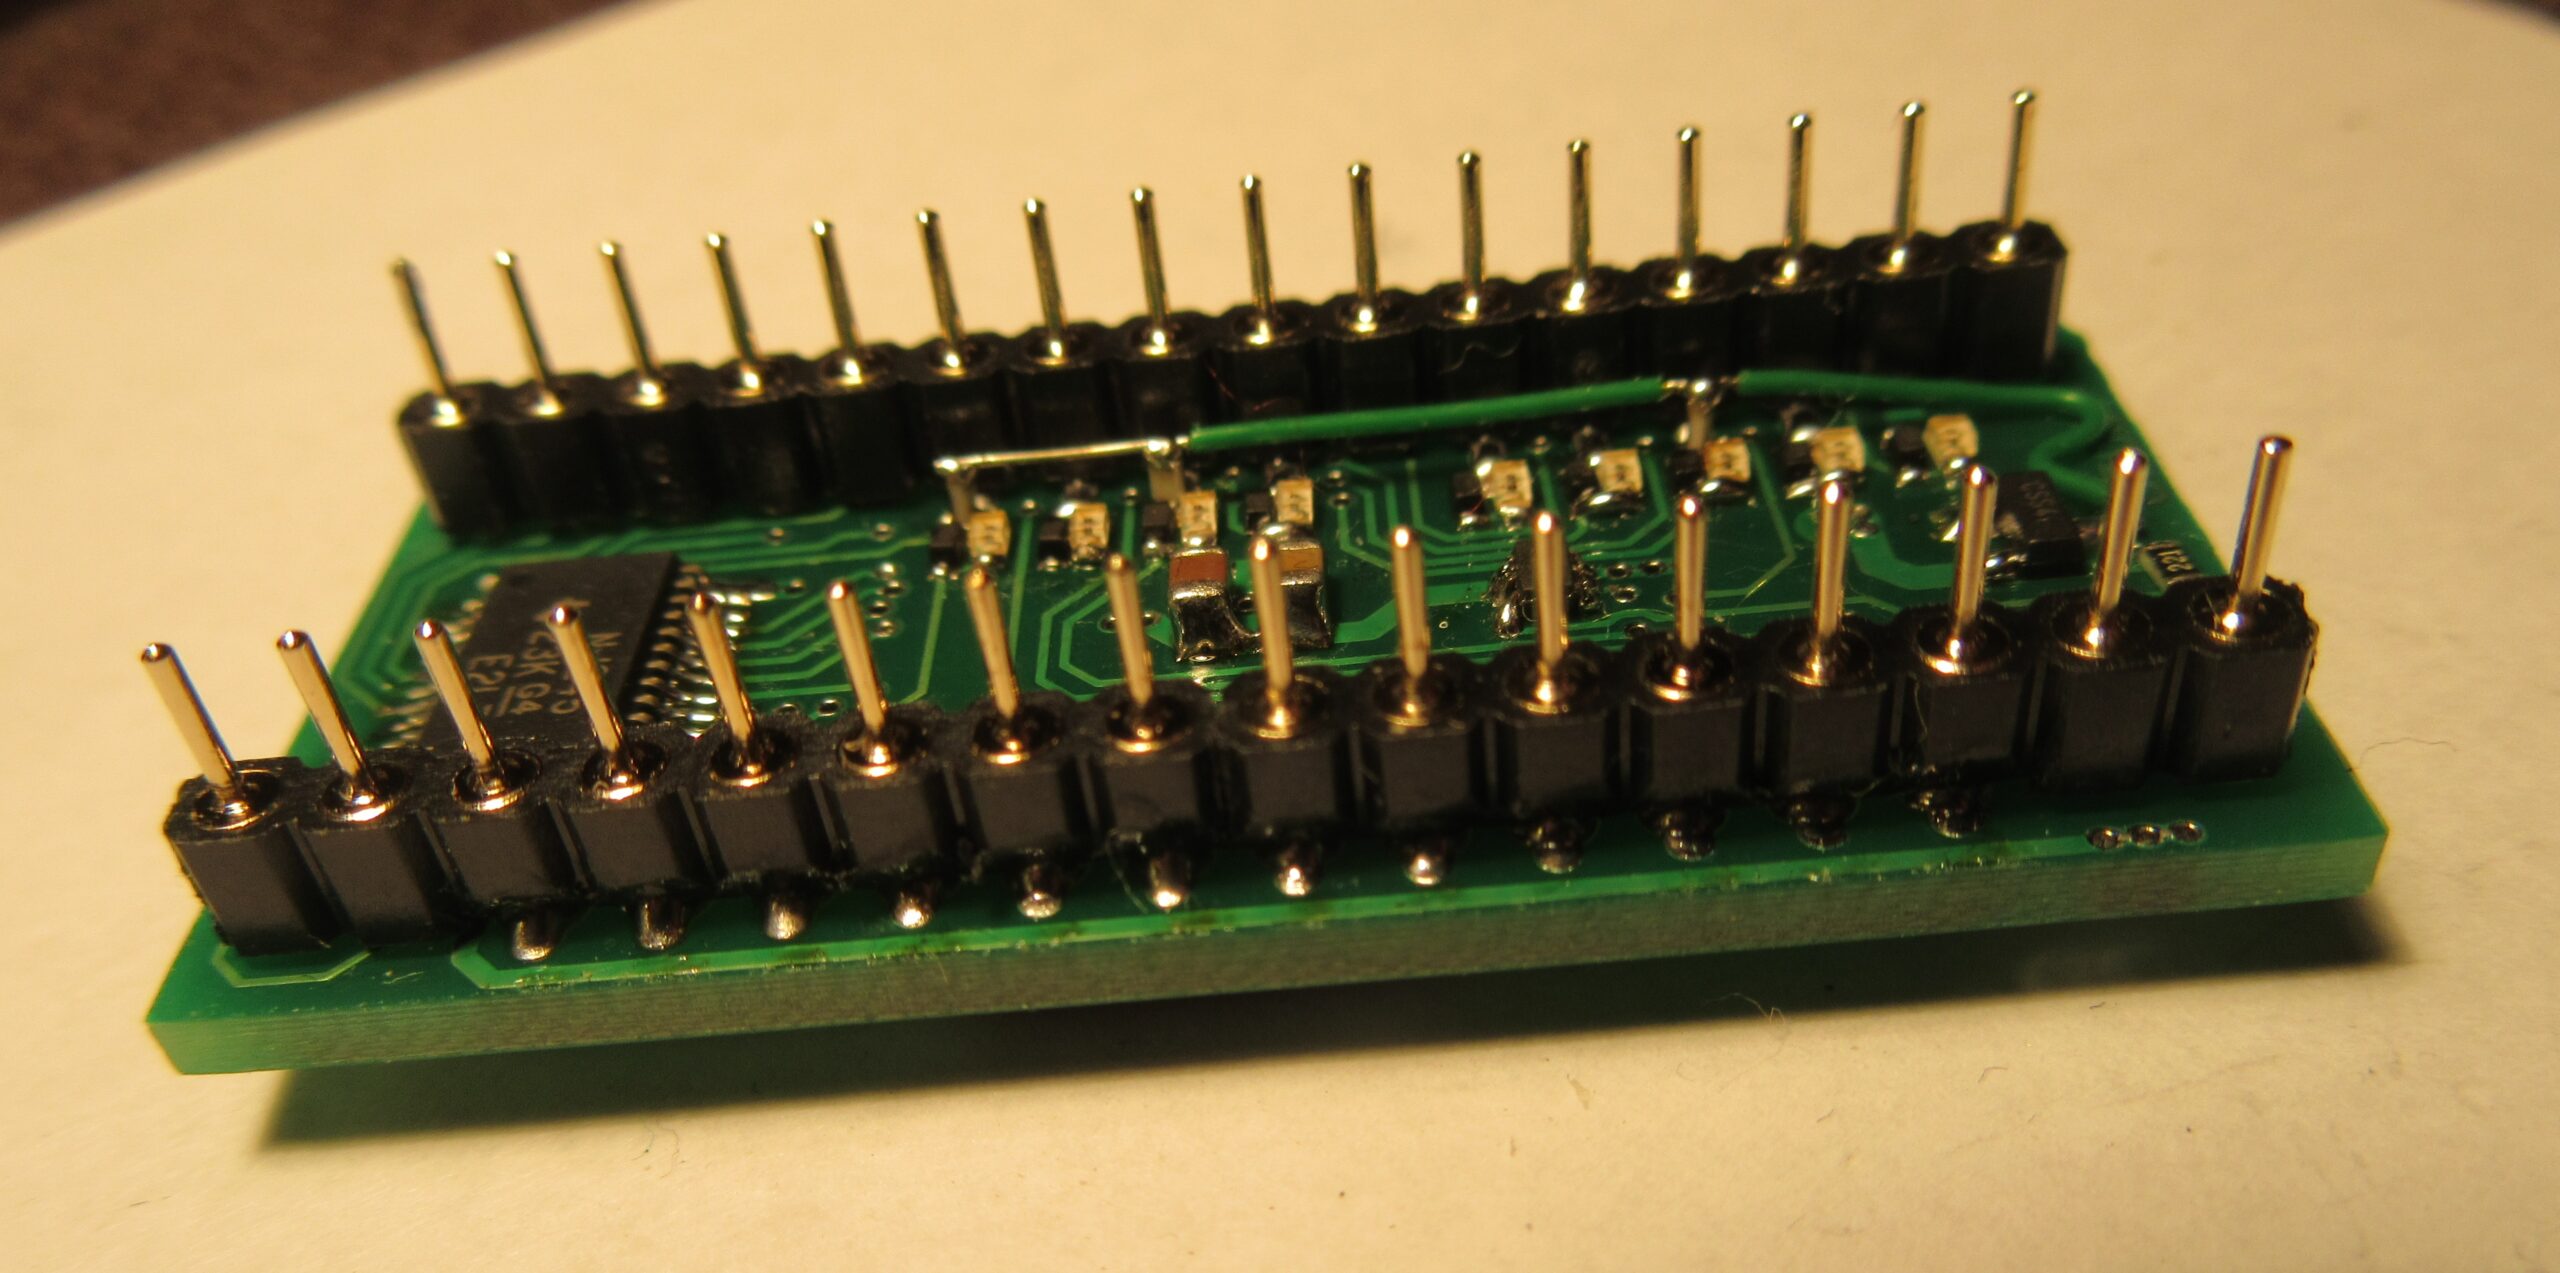
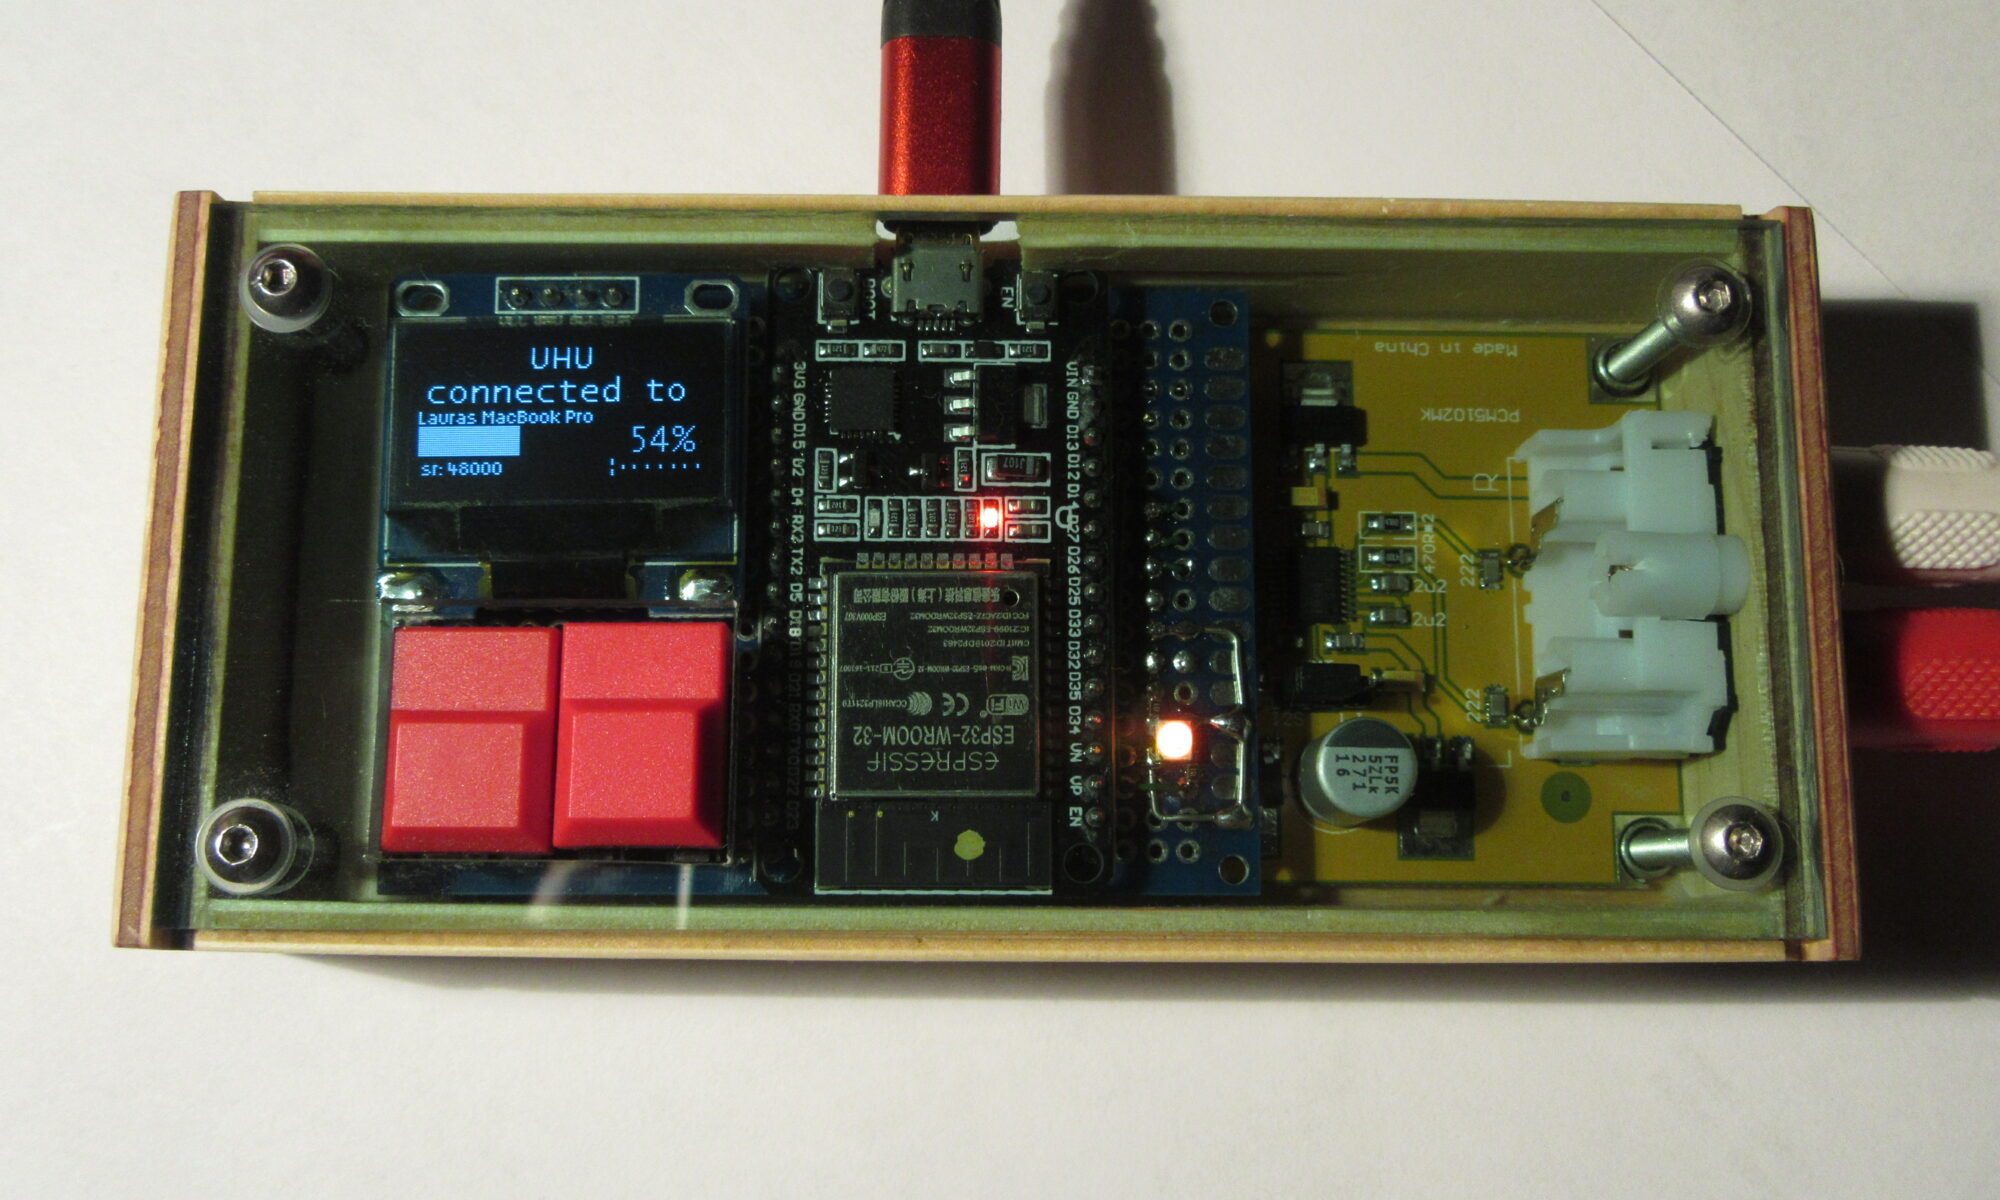
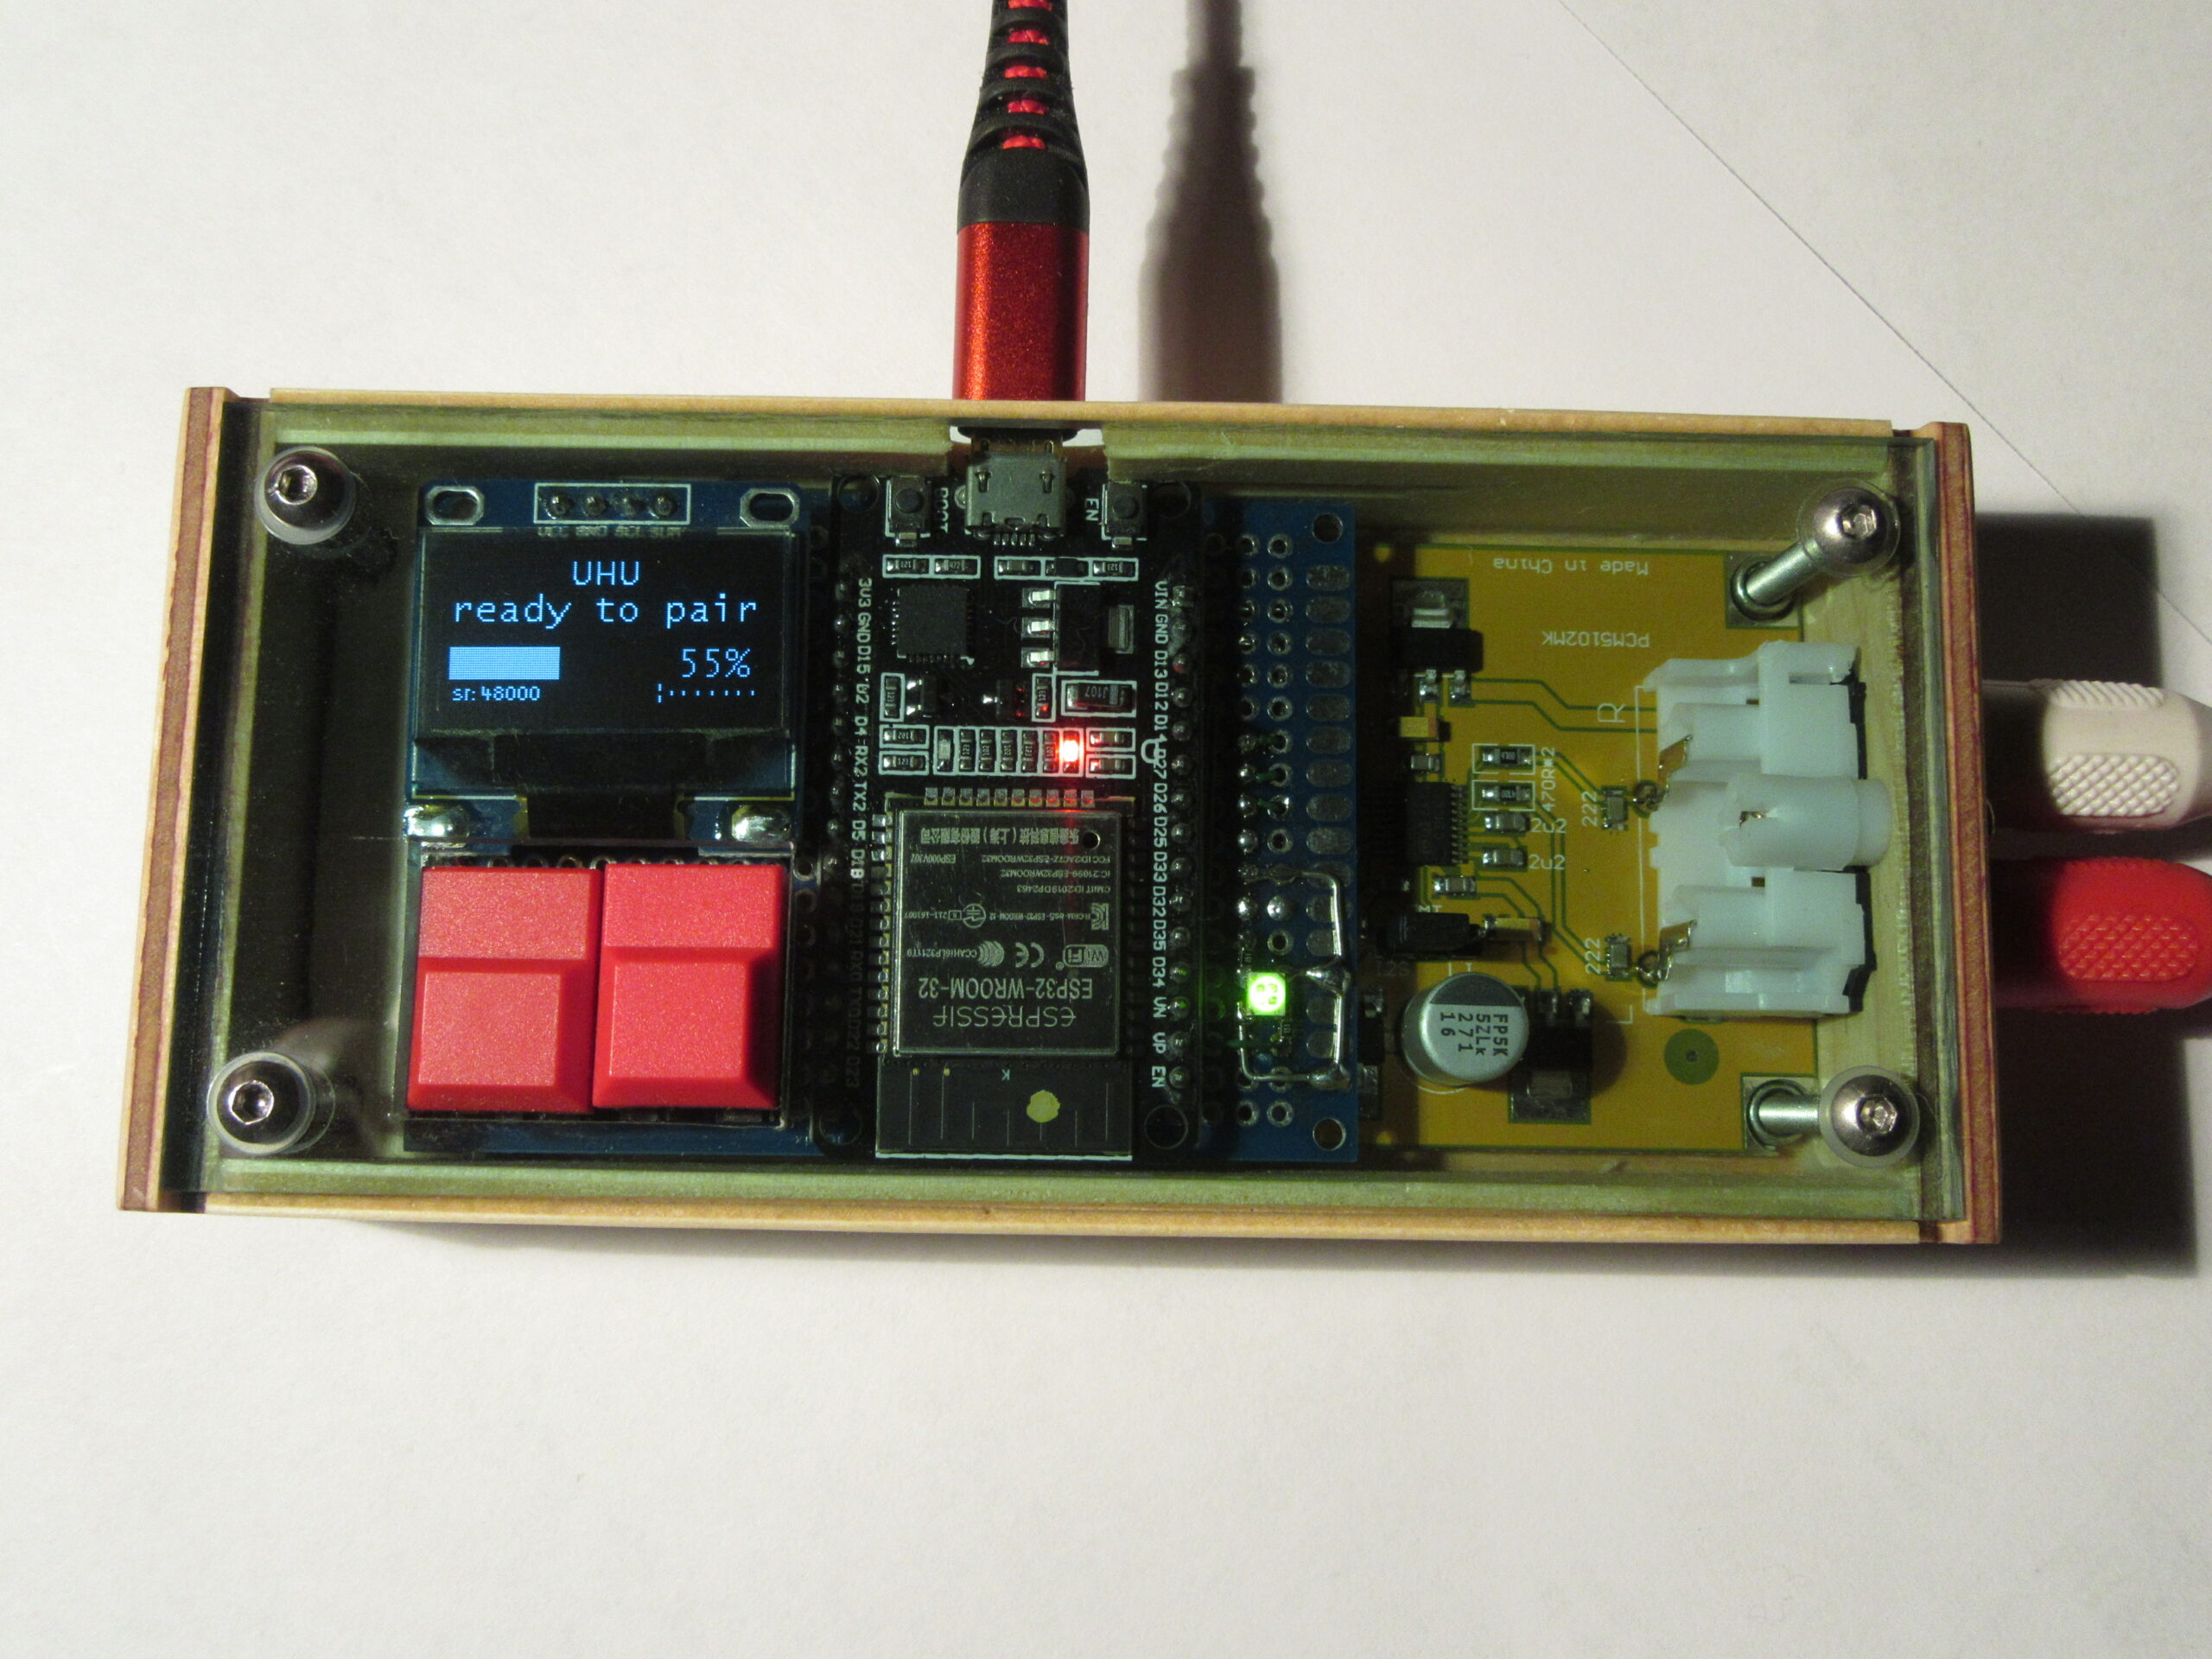
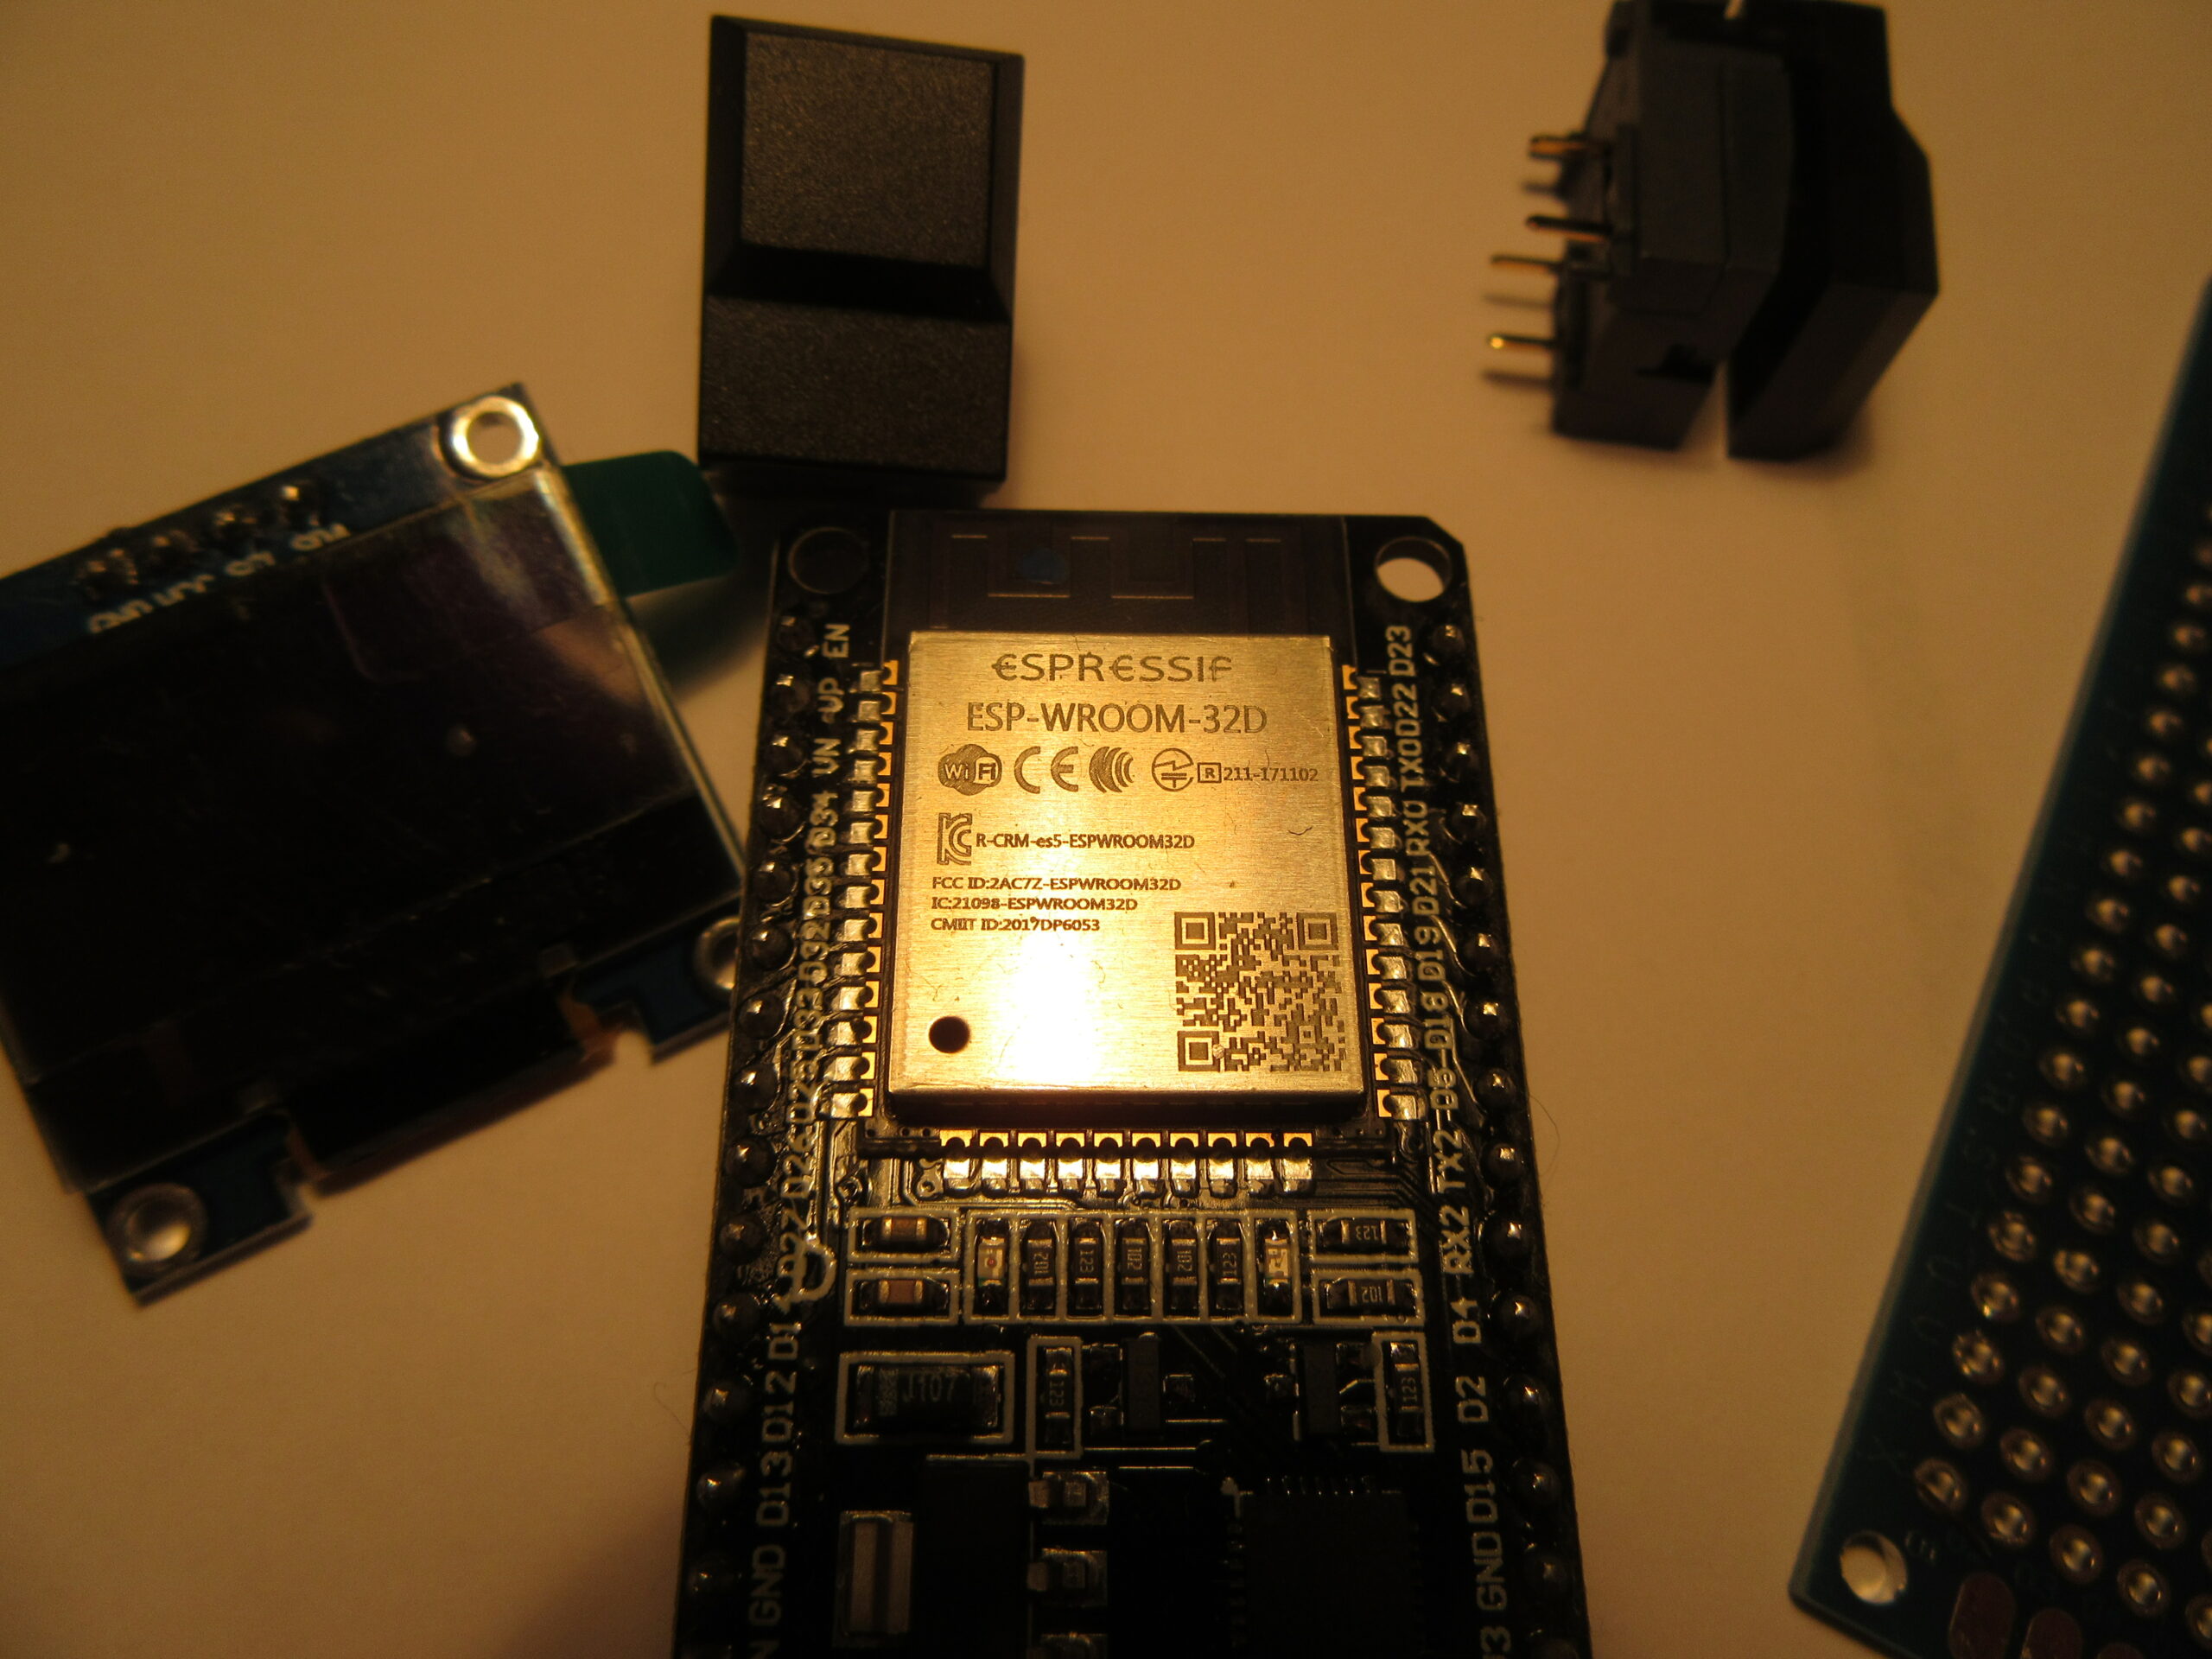
The rest follows as a short picture story: